ACTIVITY 7: Angular Basic Routing
CREATE FOLDER
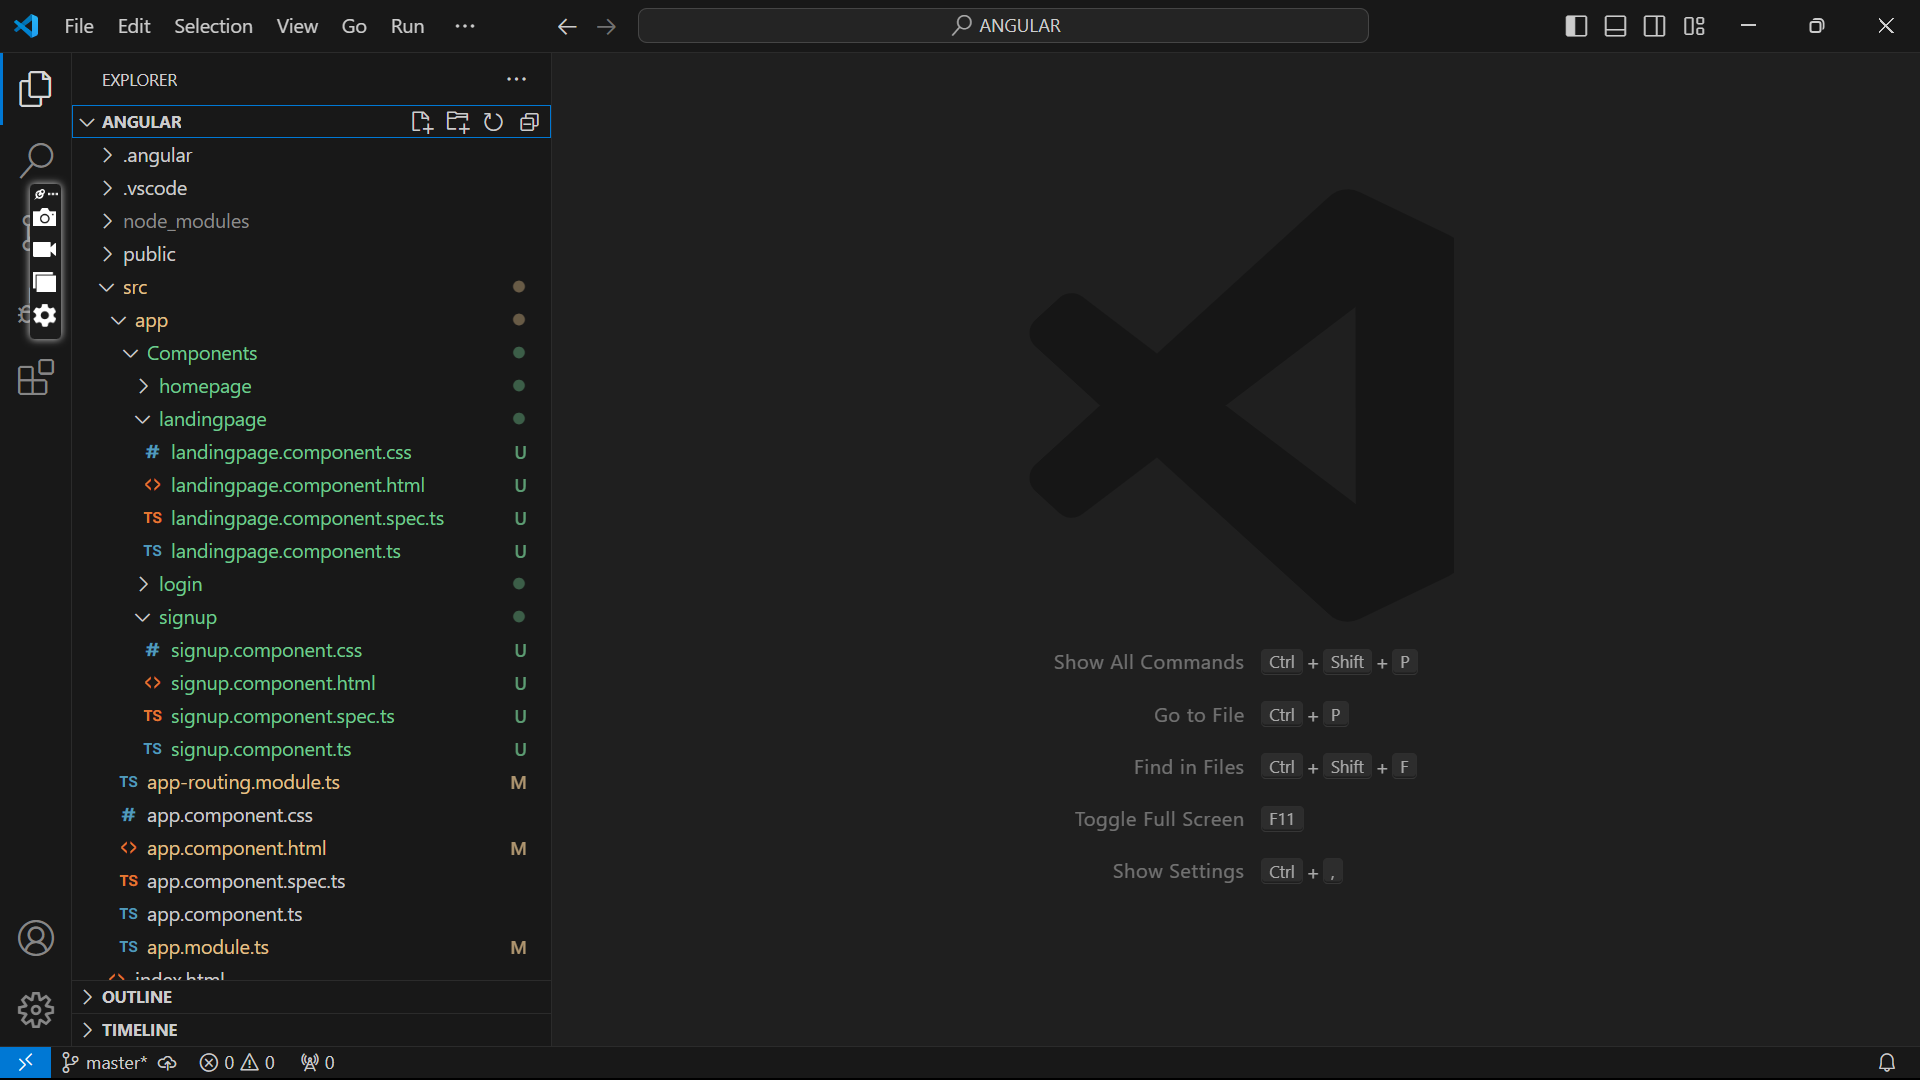
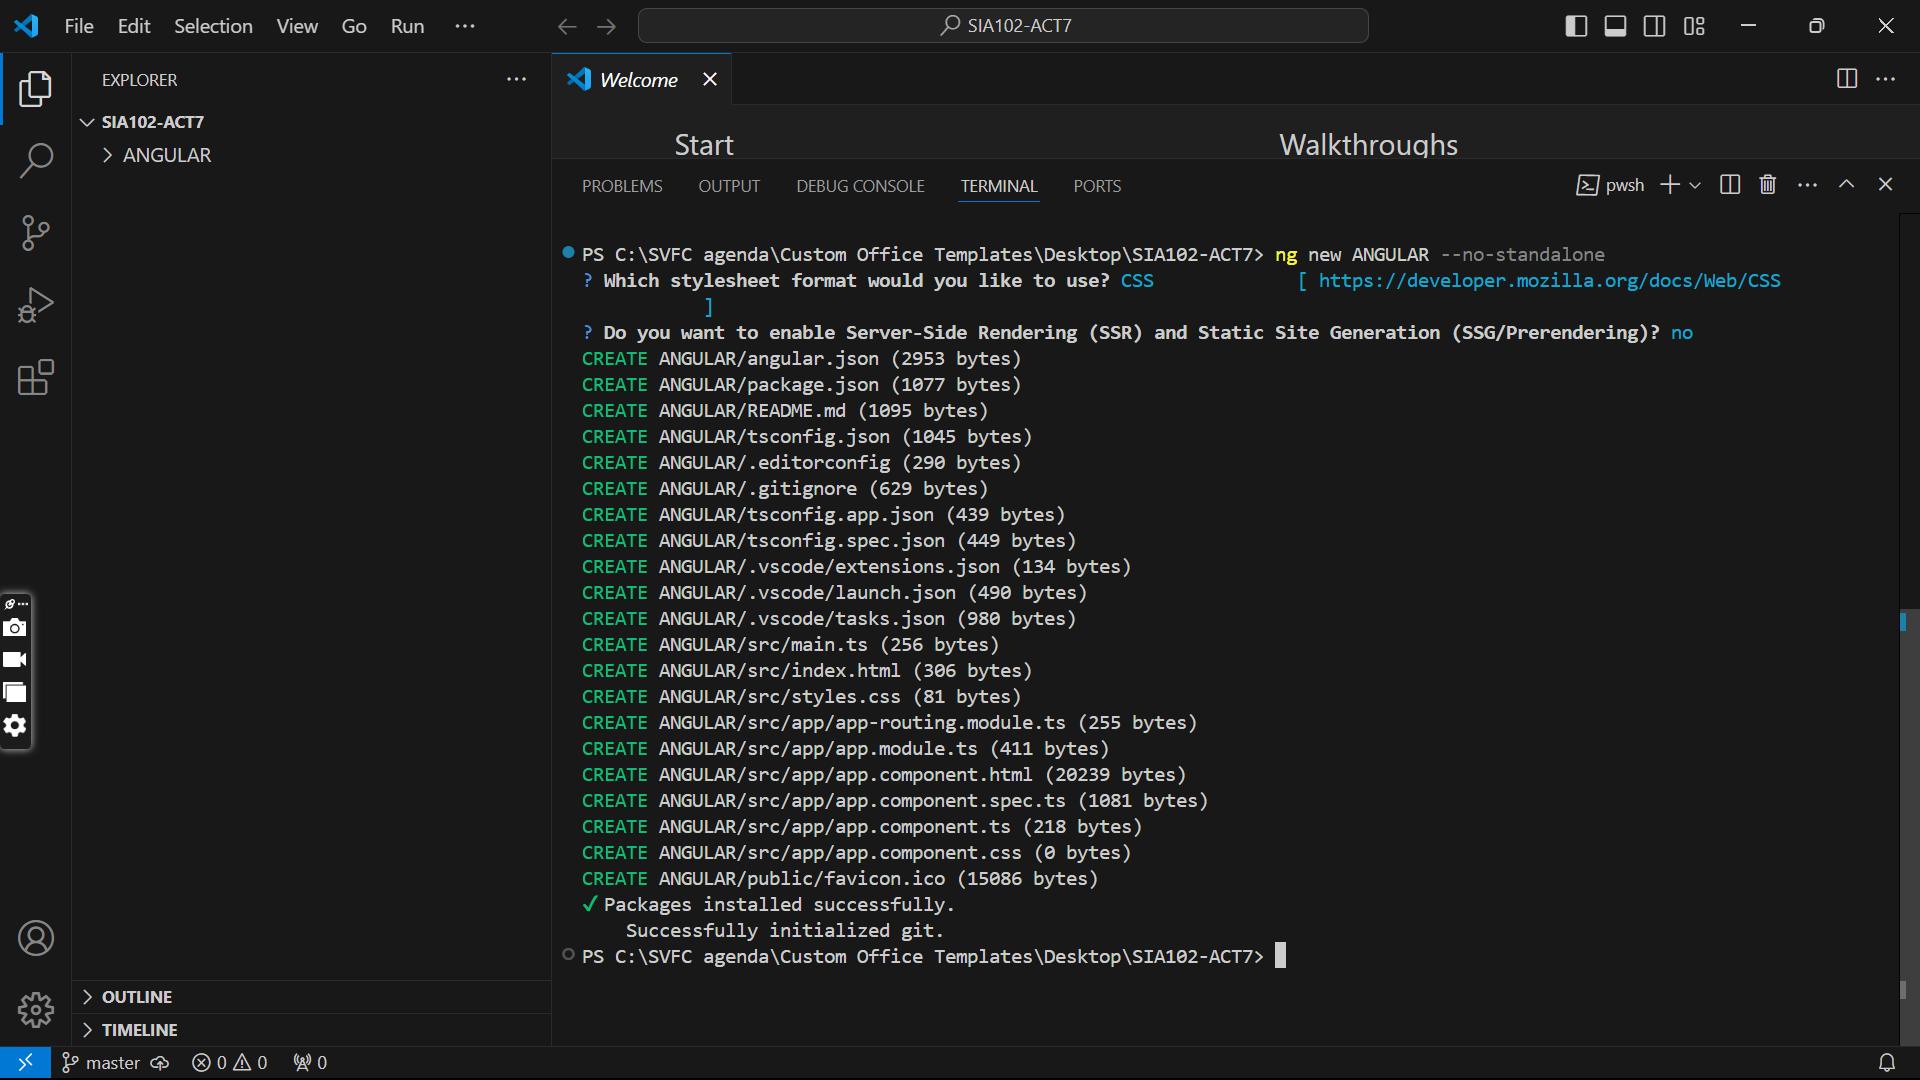
You can name it (whatever you want). So, I name my folder SIA102-ACT7 then I opened terminal and type “ng new ANGULAR” (the file name).
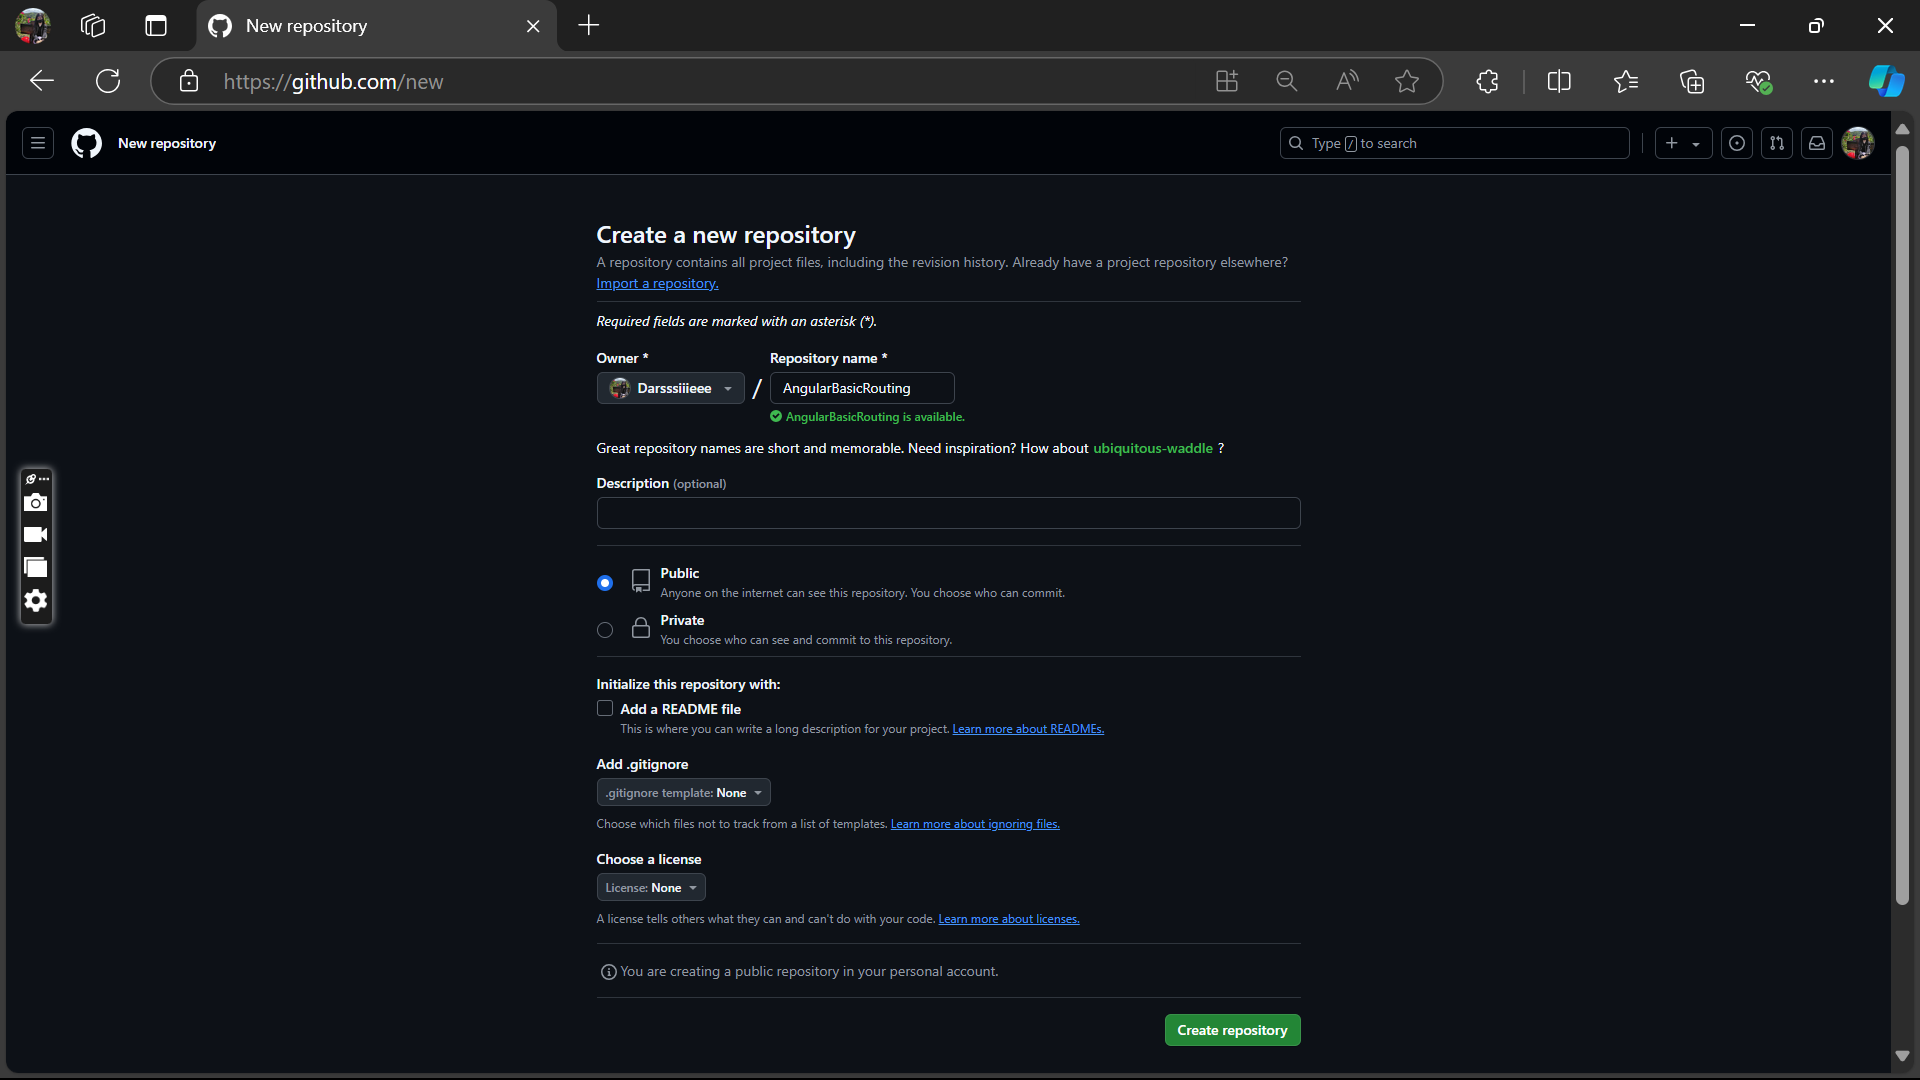
SETUP GITHUB REPO.
Create a GitHub repository named “AngularBasicRouting”, click the create repository and you can continue developing your application and push updates to your repository regularly.
CREATE FOUR COMPONENTS
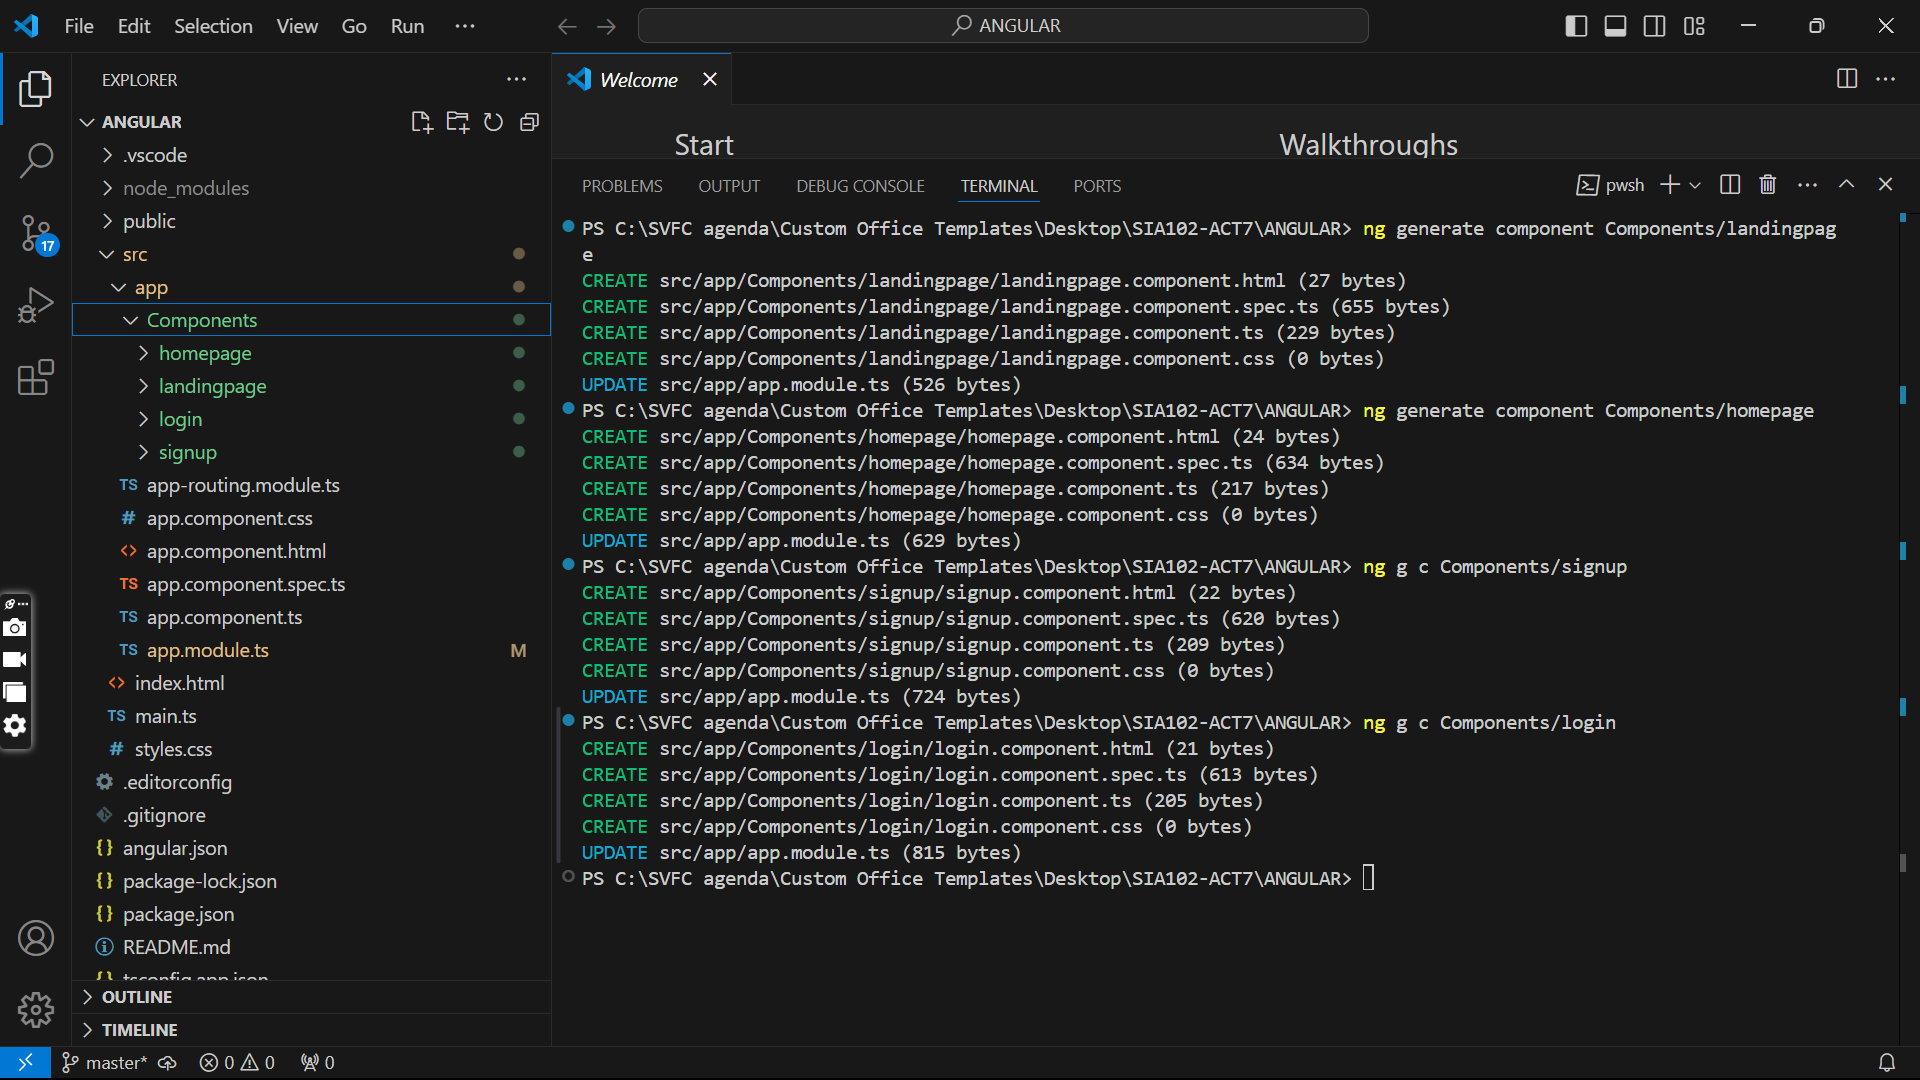
In my case I generate four components together with the folder using Angular CLI commands to create necessary files in the components folder, using the command “ng generate component Components/file name" or you can also simply used ”ng g c Components/file name”. Or you can add components manually just add another folder inside the folder app then right click the component click open in integrated terminal and type the command “ng generate component (component name)” or you can also type “ng g c (component name)” for your convenience.
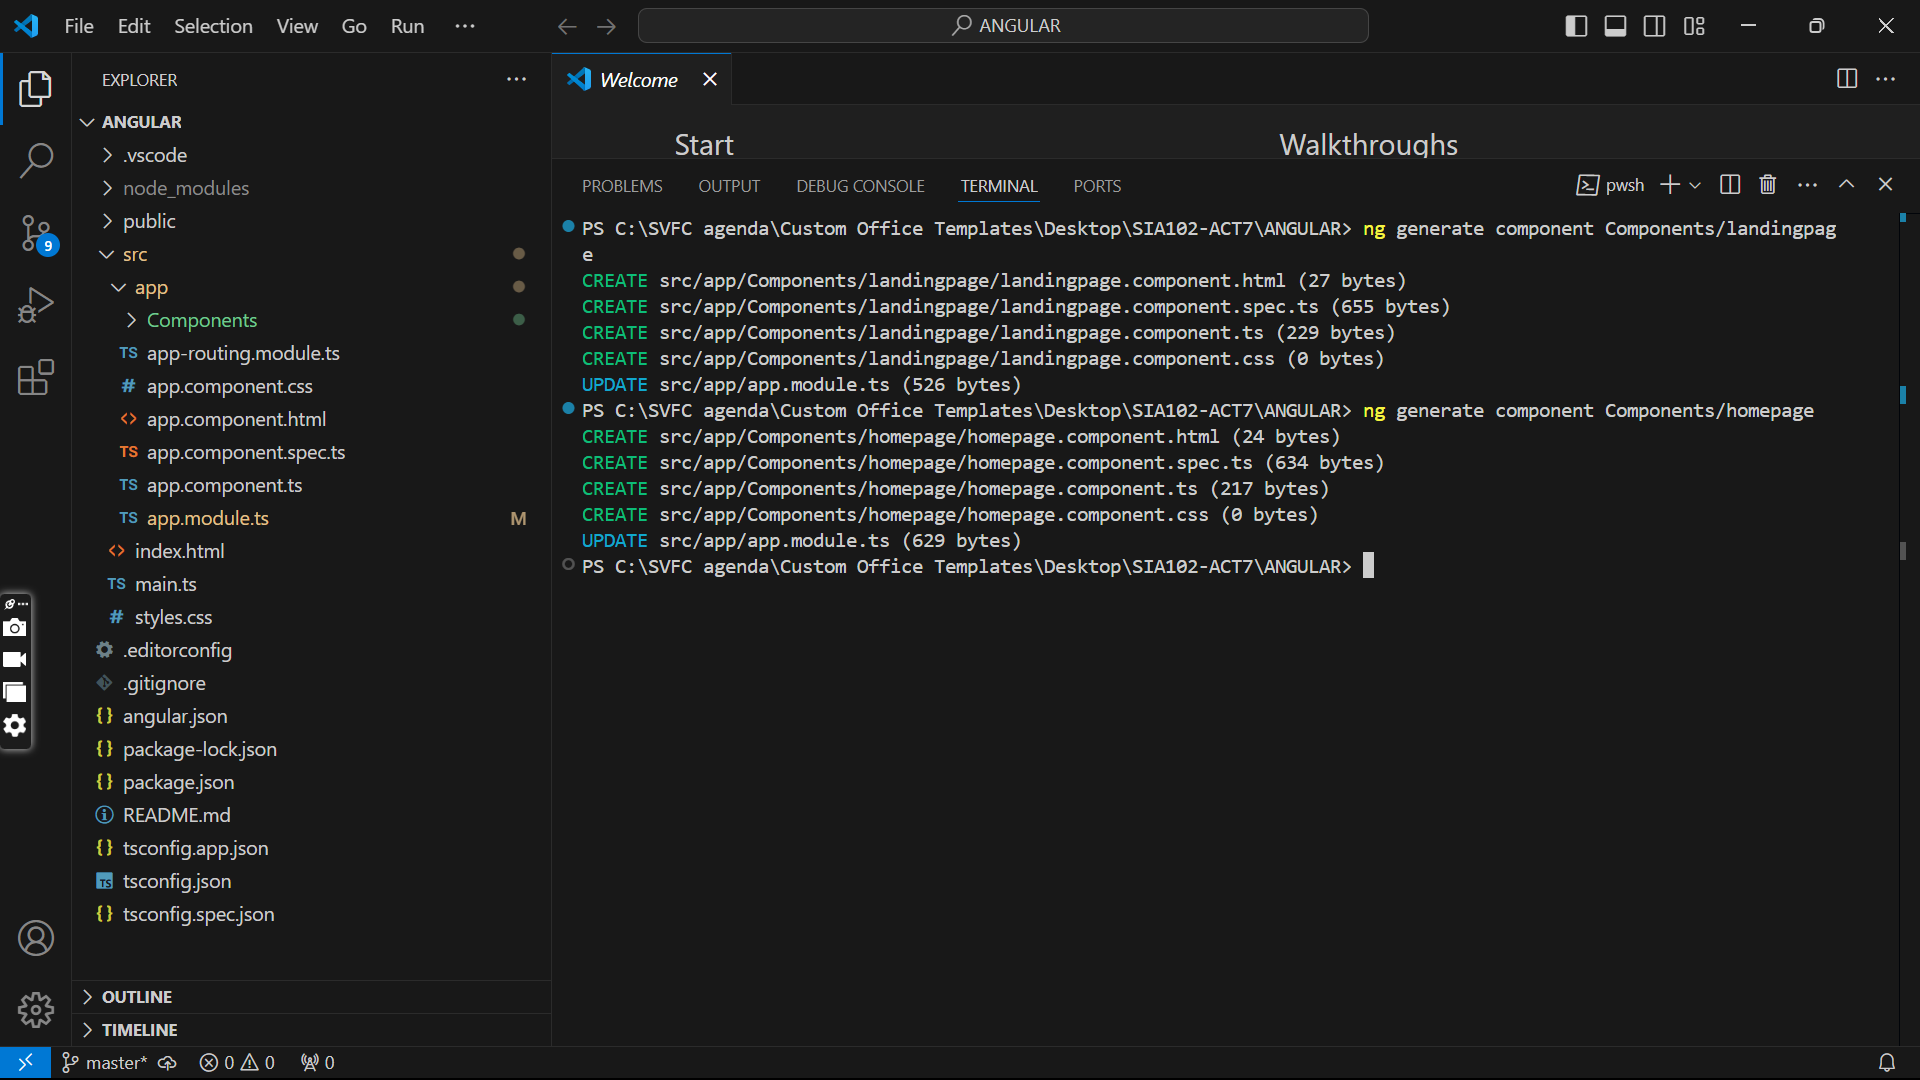
ADD APP.MODULE.TS
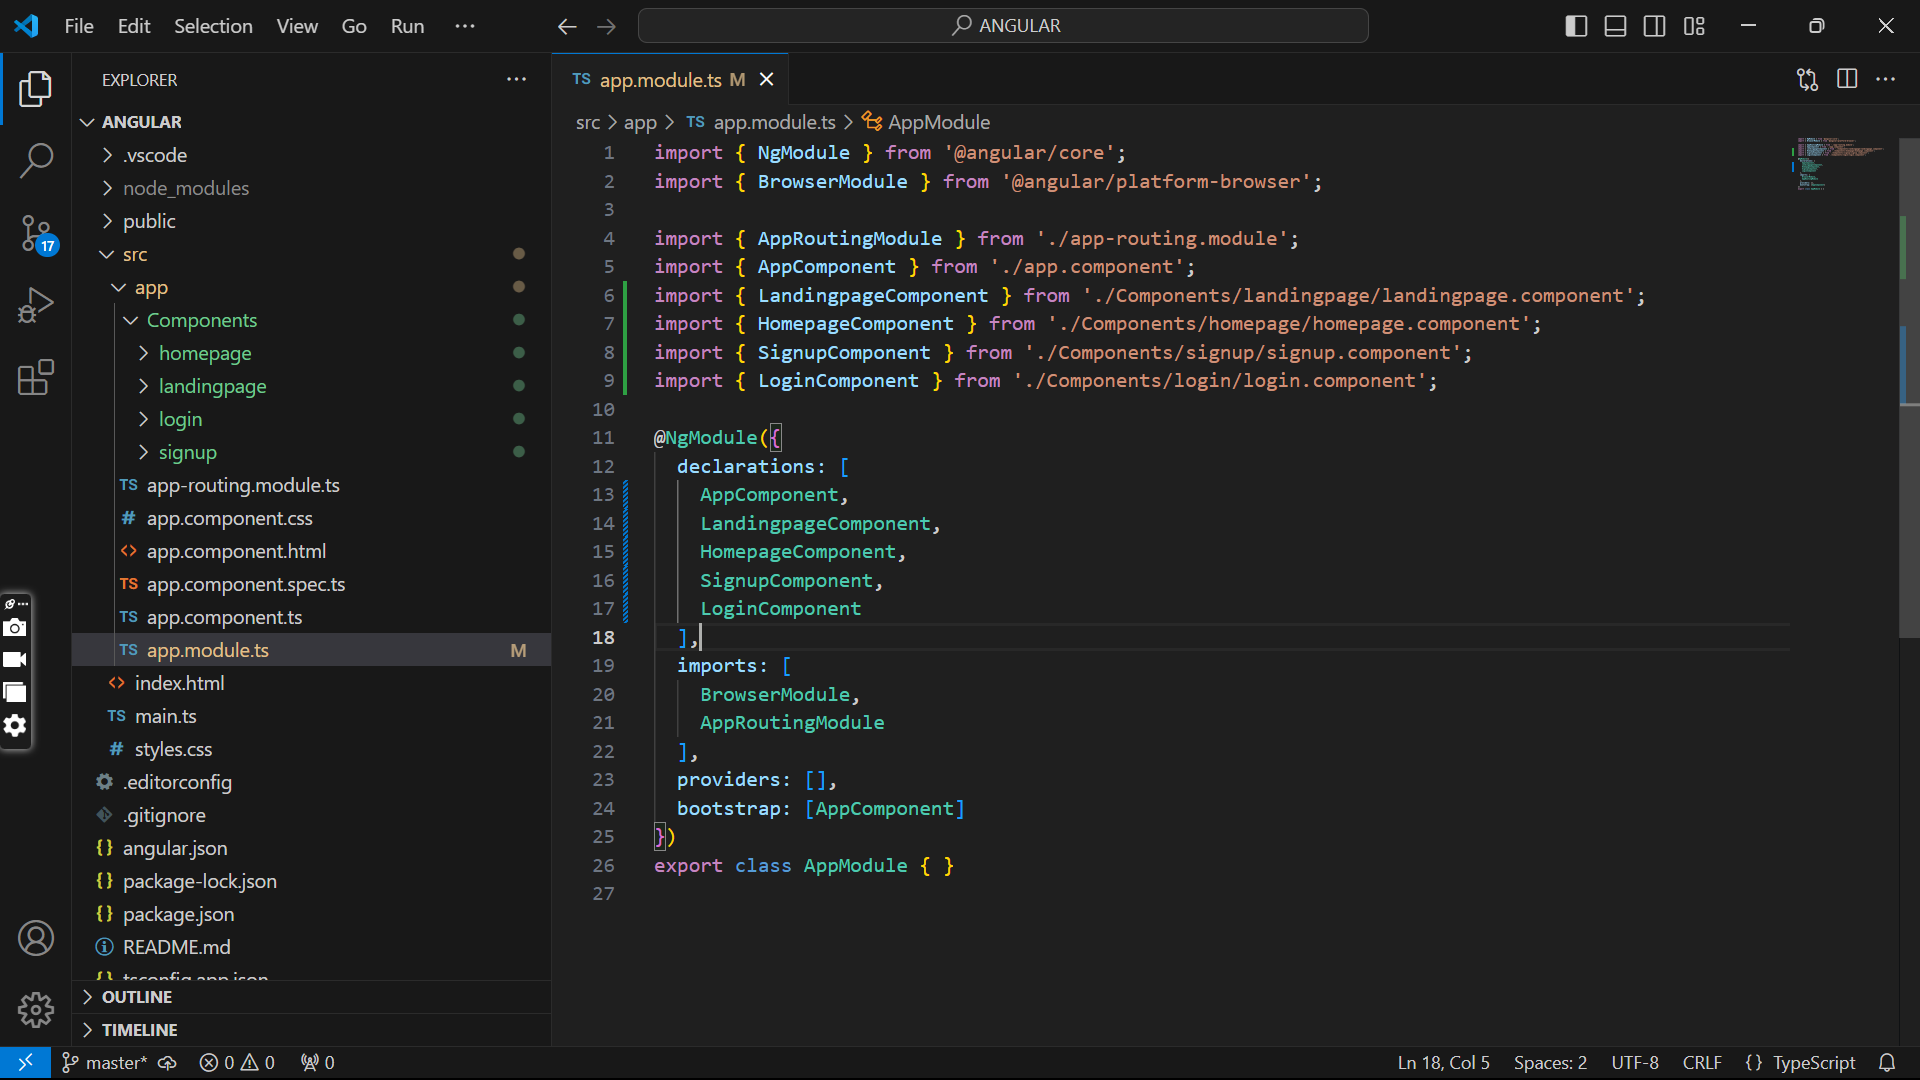
Since I use “—no-standalone" to a configuration option or command-line flag that indicates that the components being generated or used in the application are not standalone. This could mean that they are created within a traditional module-based Angular application that has a root NgModule (commonly app.module.ts). Instead of using the newer standalone component approach, which might require extra configuration in some cases, this flag allows them to retain a familiar, more streamlined approach for component declaration.
UPDATE MAIN.TS
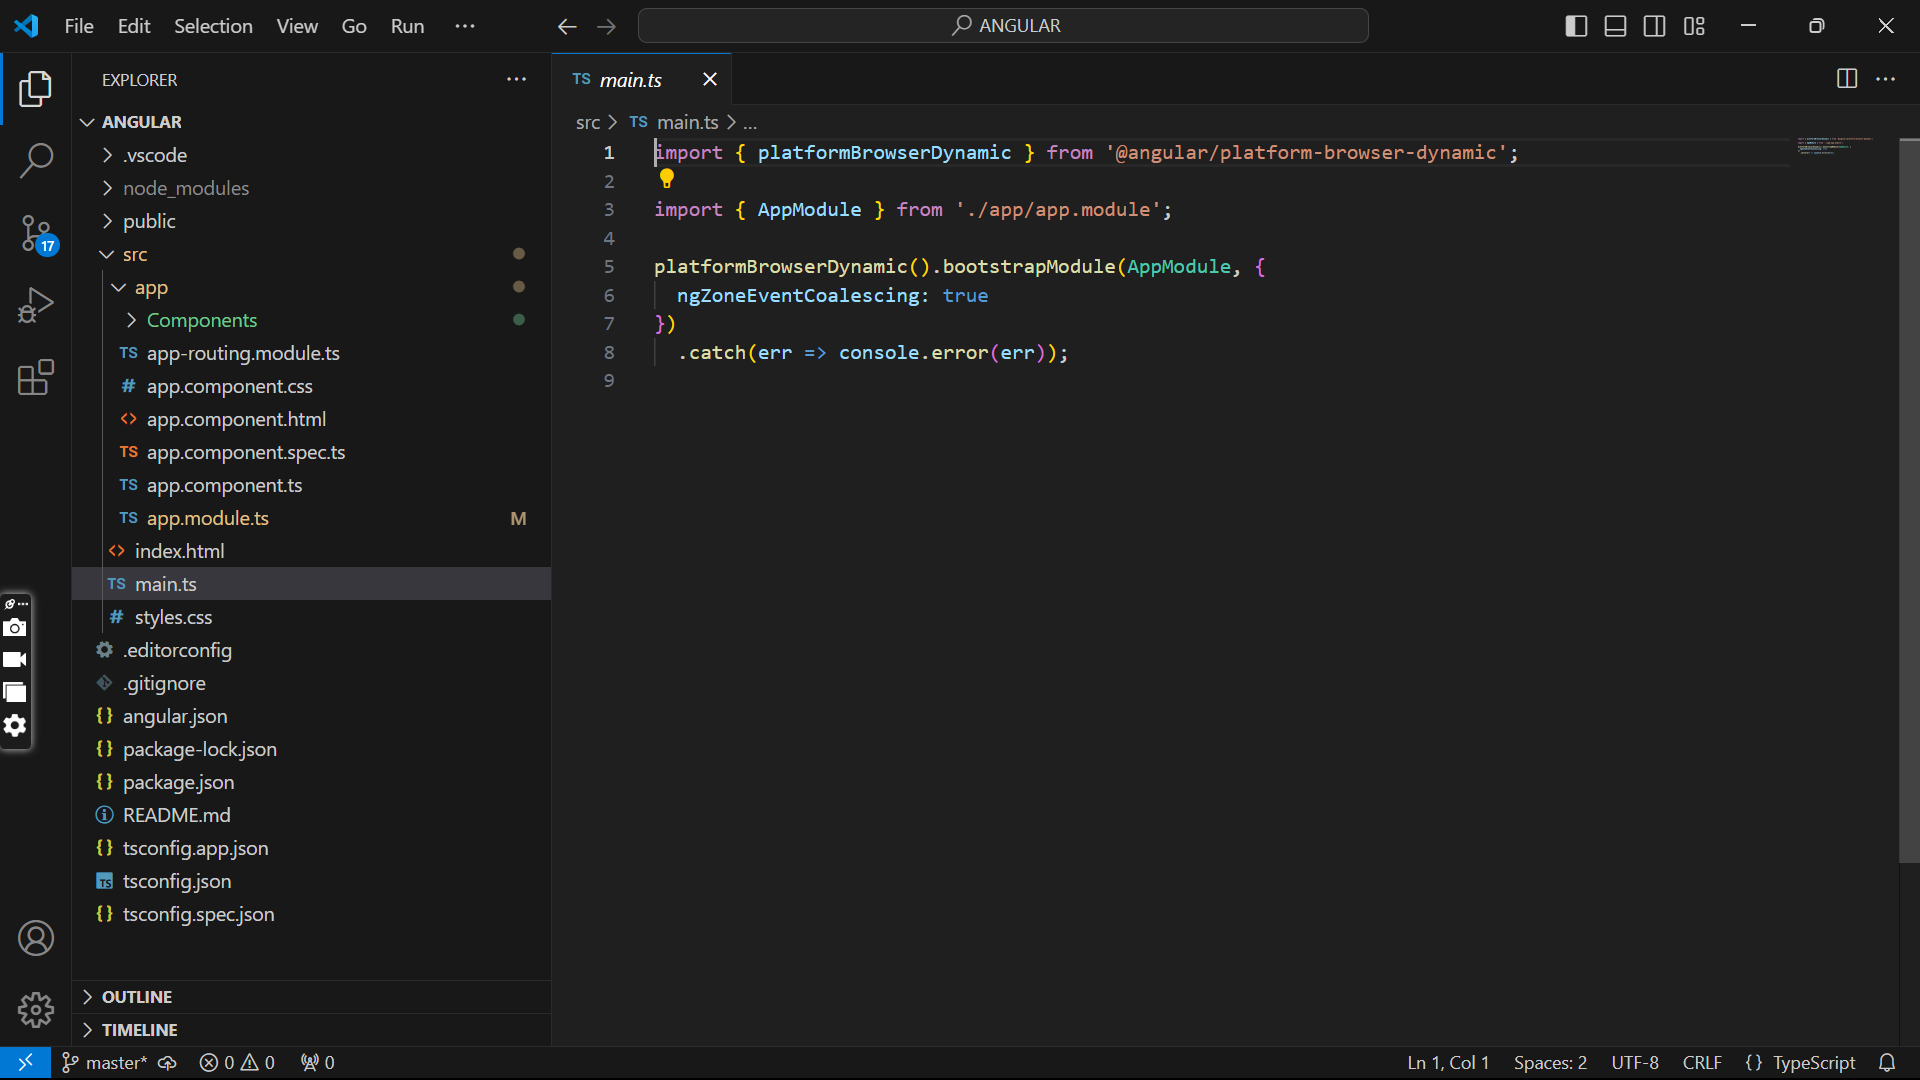
Ensure main.ts bootstraps the application with AppModule.
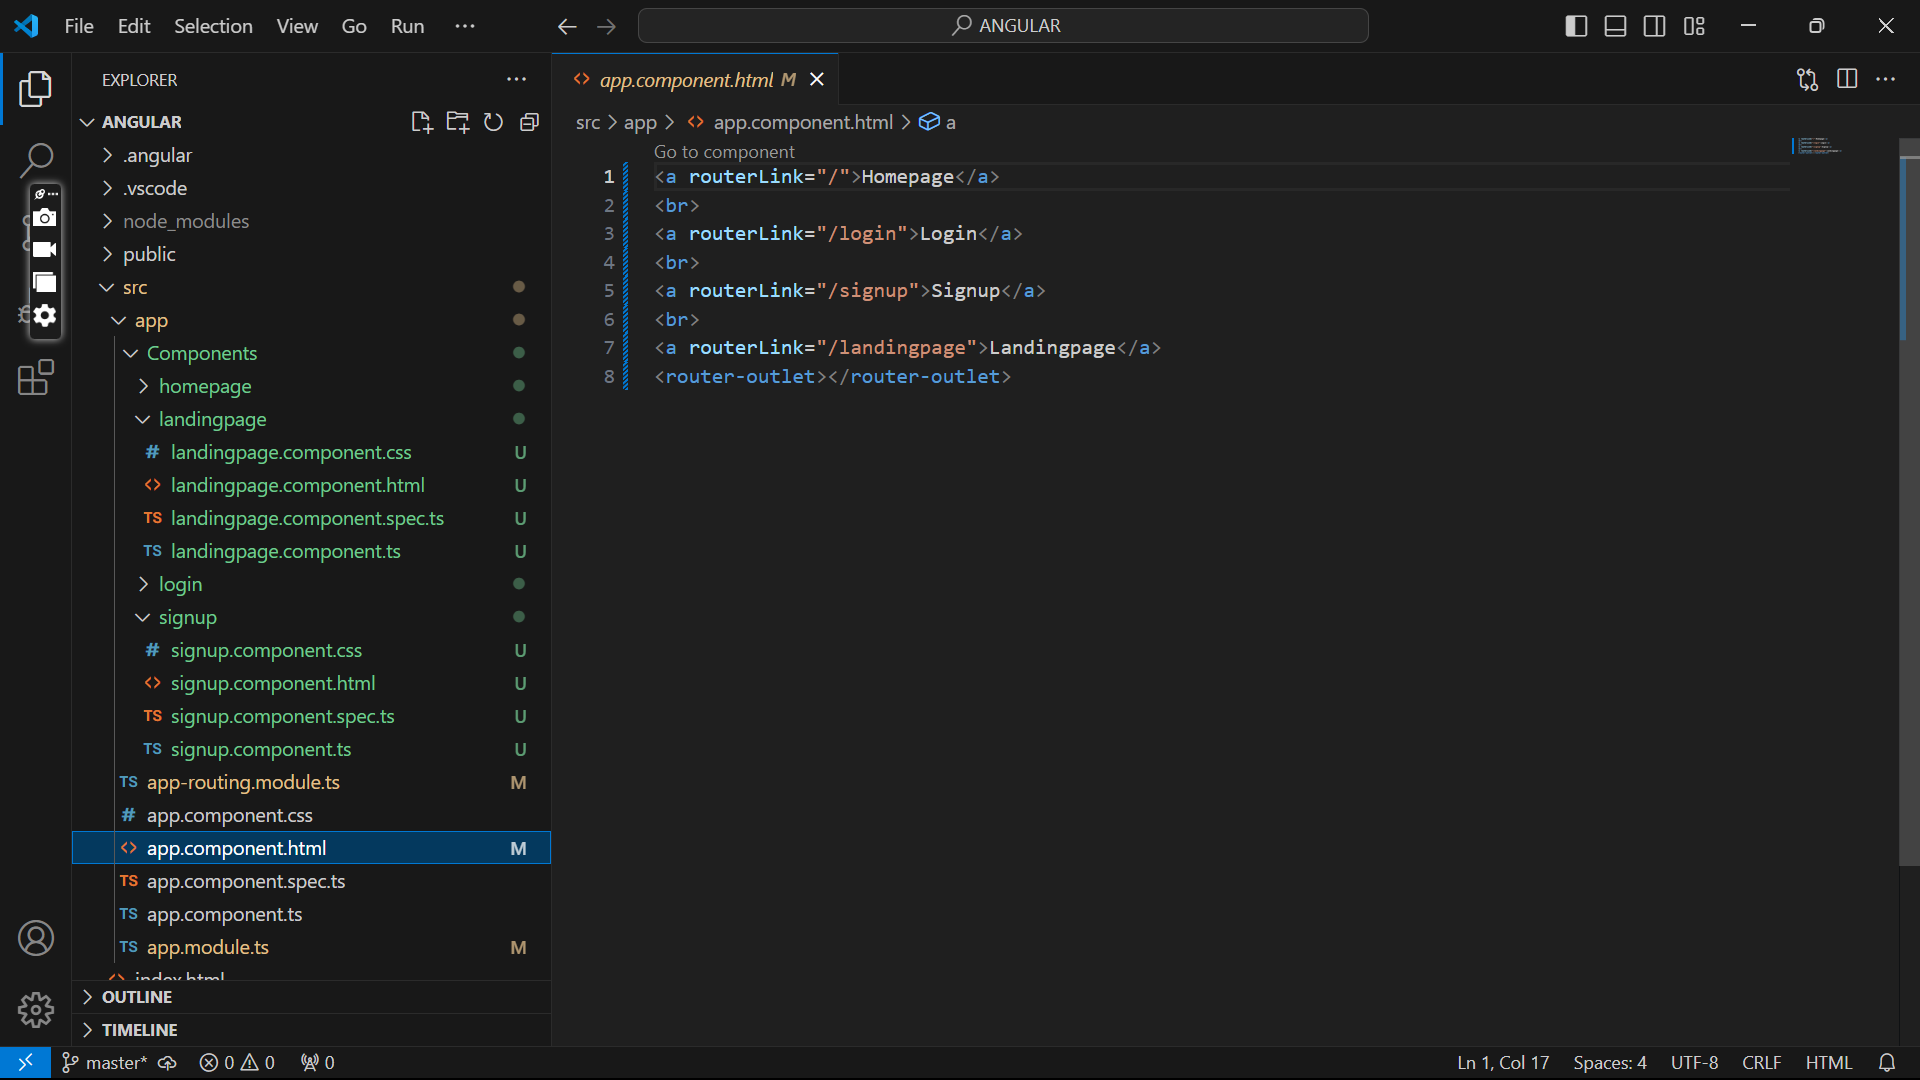
UPDATE APP.COMPONENT.HTML
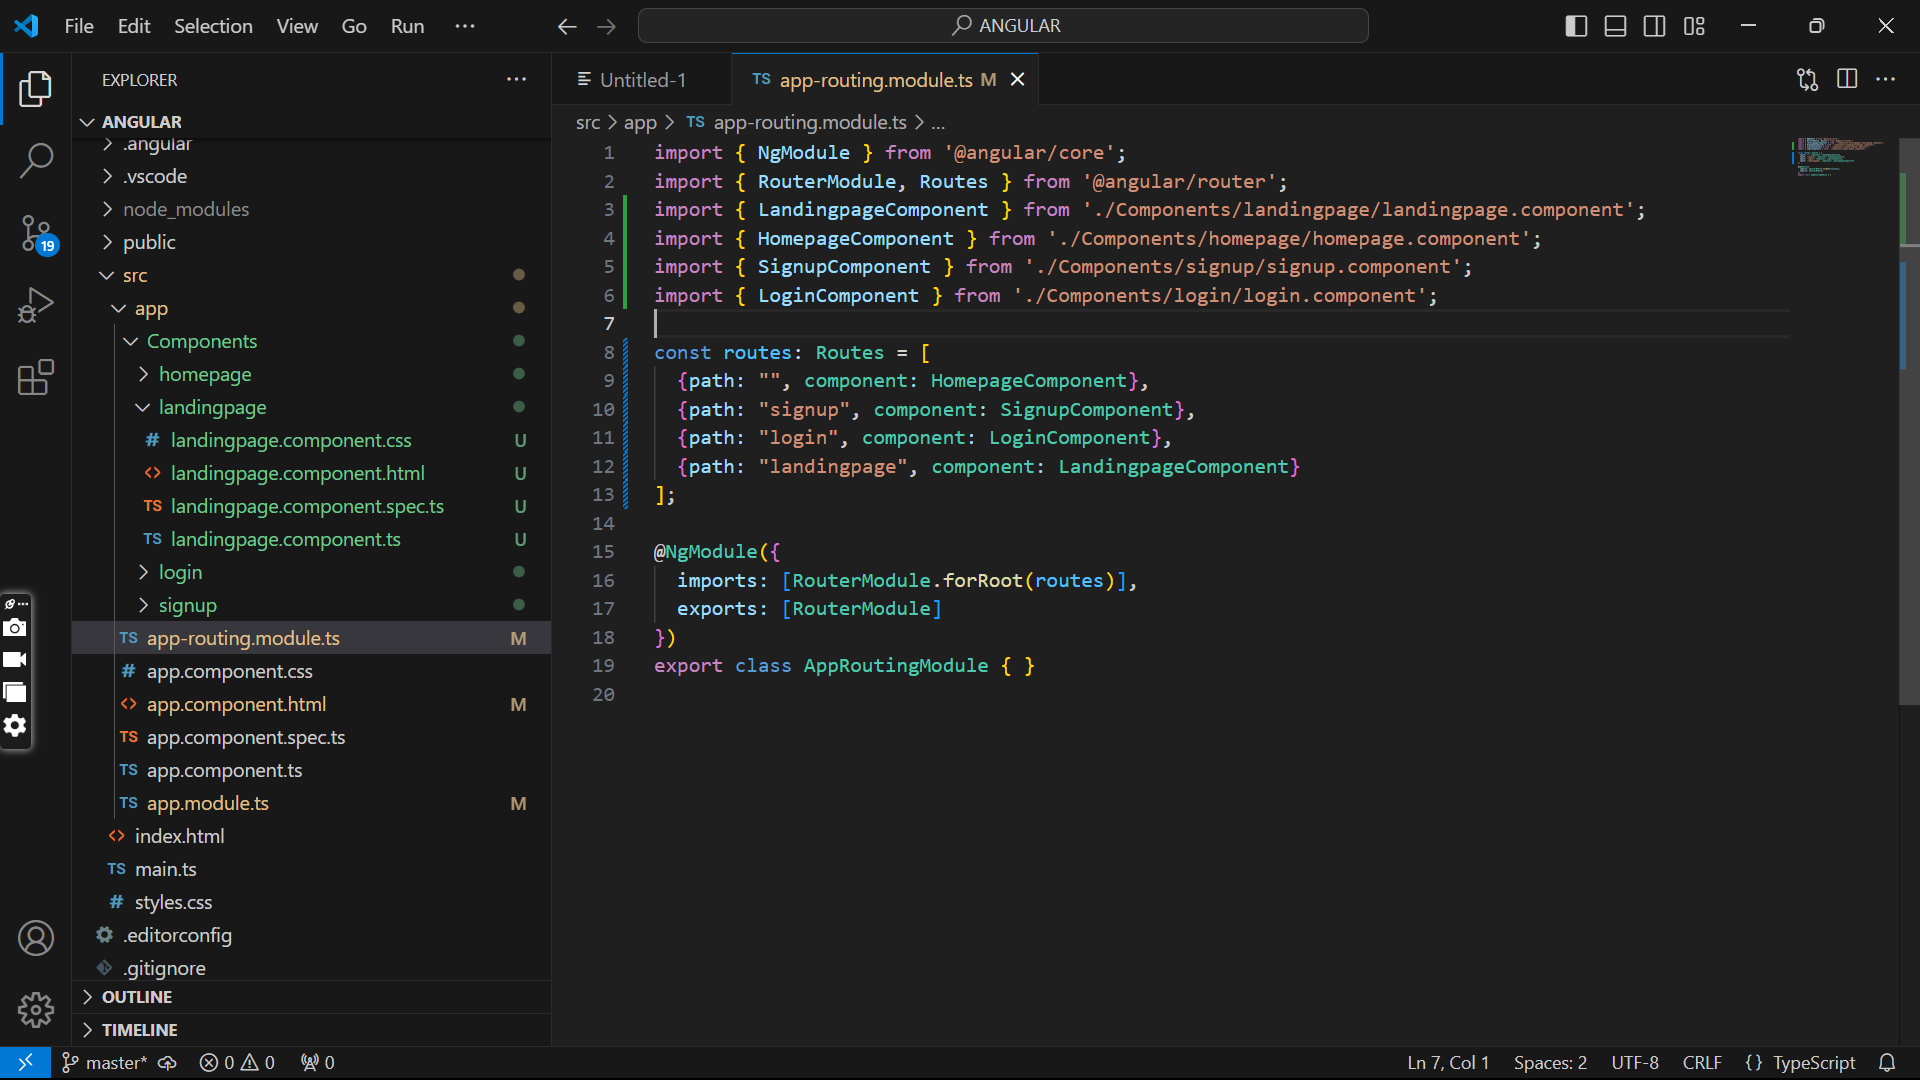
Modify app.component.html as well as the app.routing.module.ts to contain navigation links and router-outlet for displaying routed views.
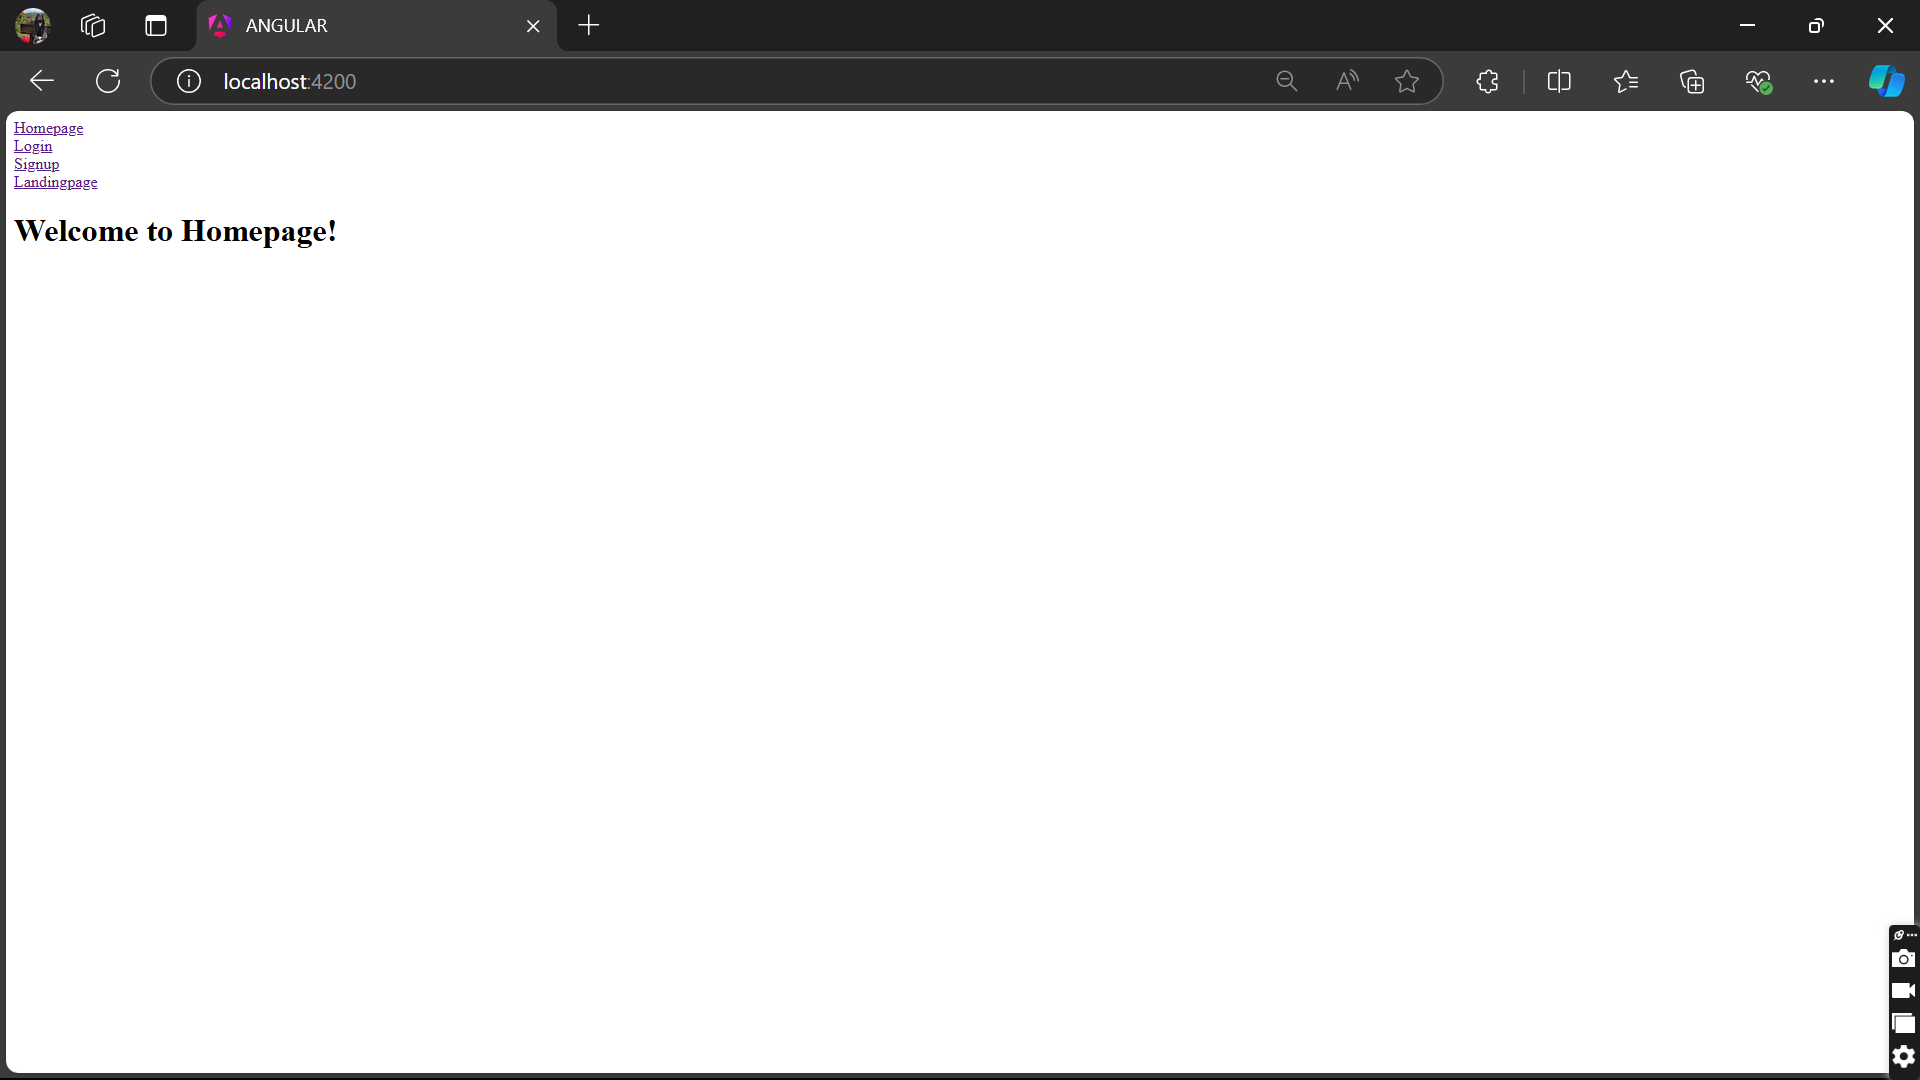
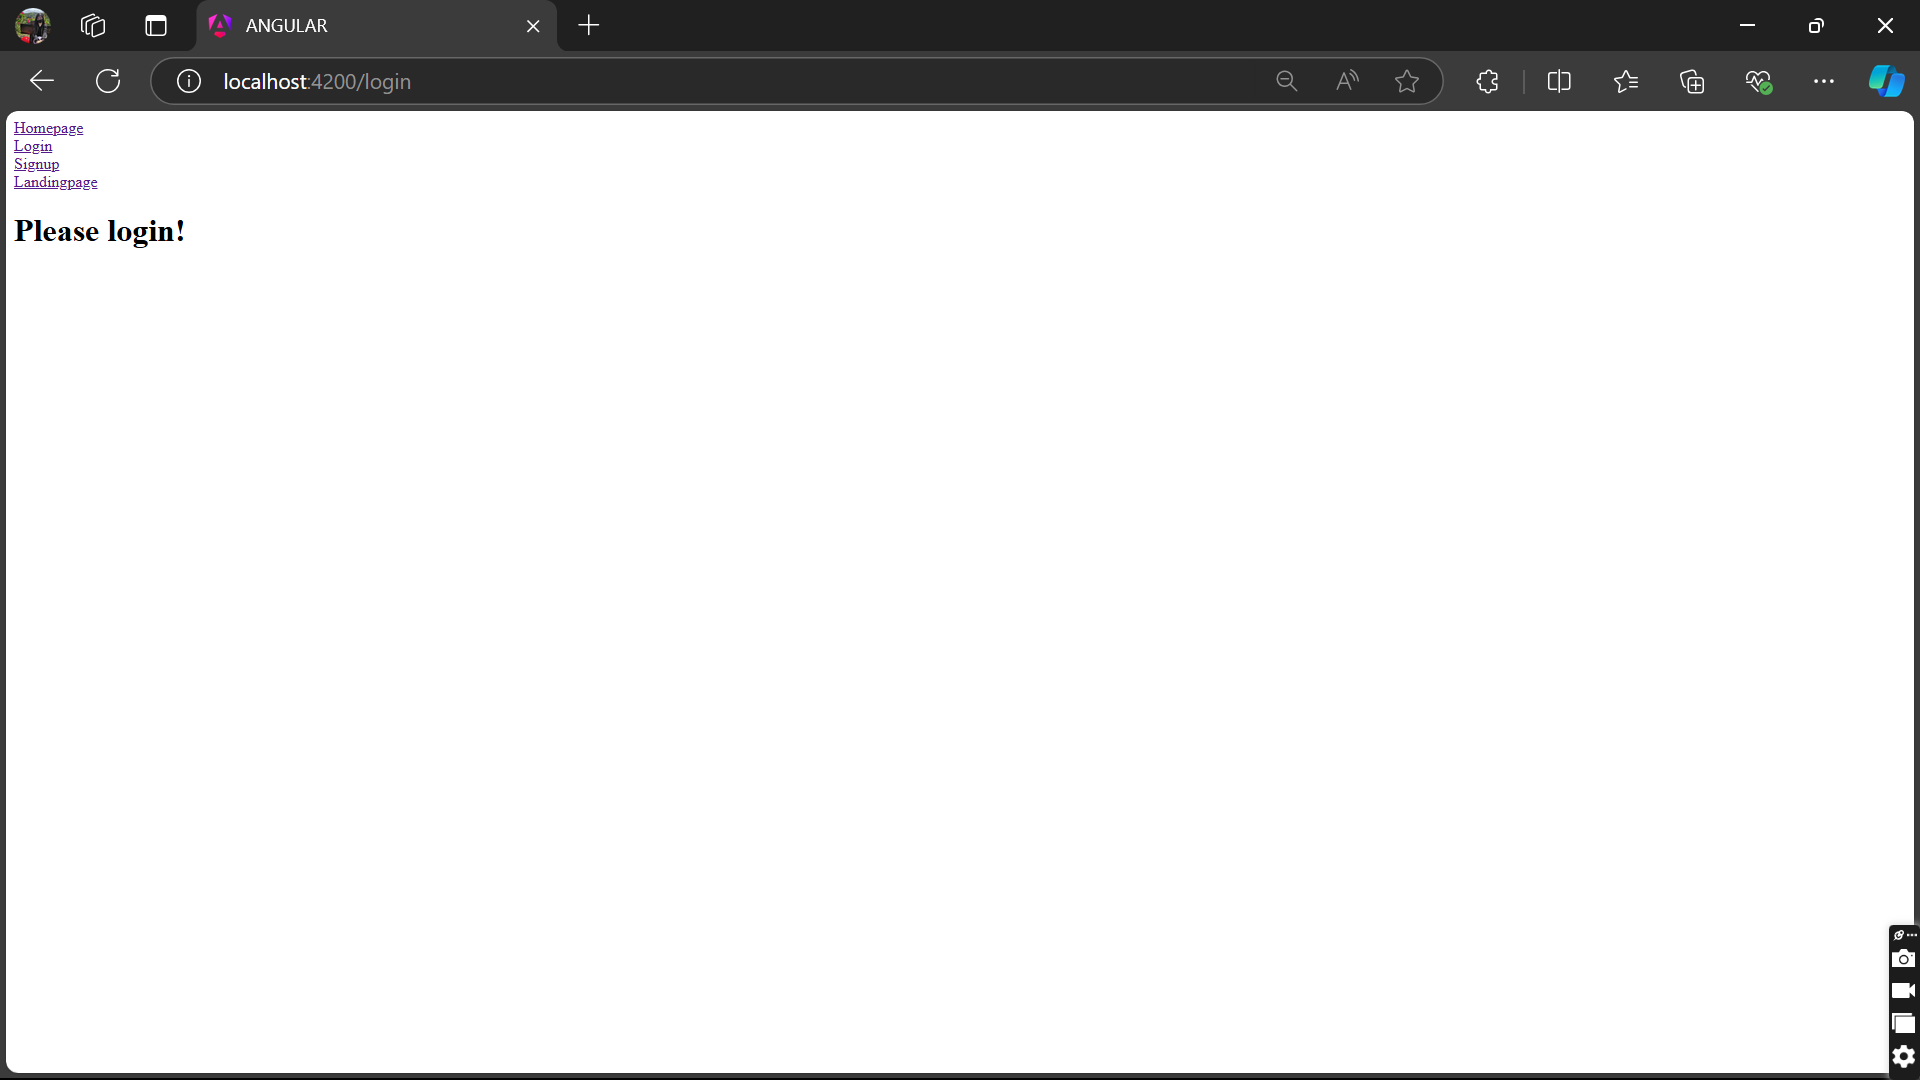
OUTPUT
And we’re done with the set-up, importing and connecting the links, this is the code on how you connect the router links, and you can see the output bellow.
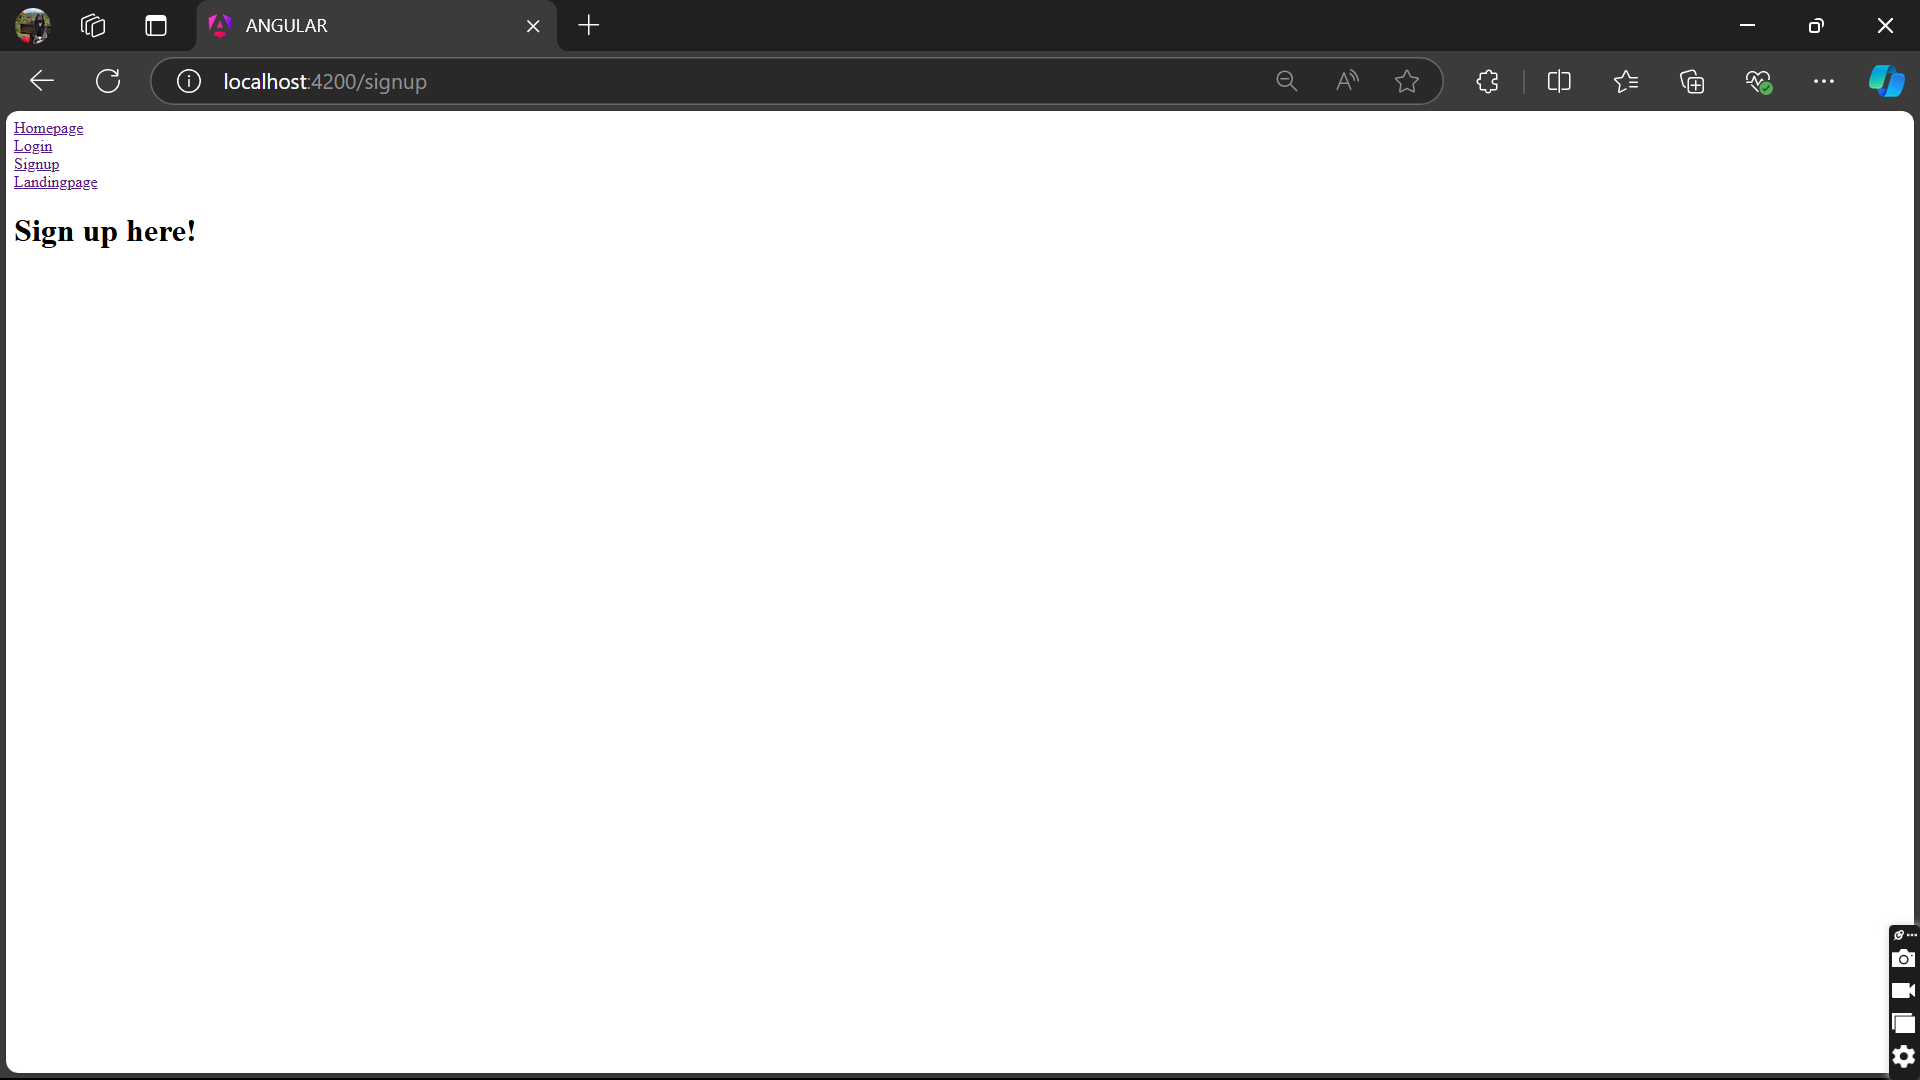
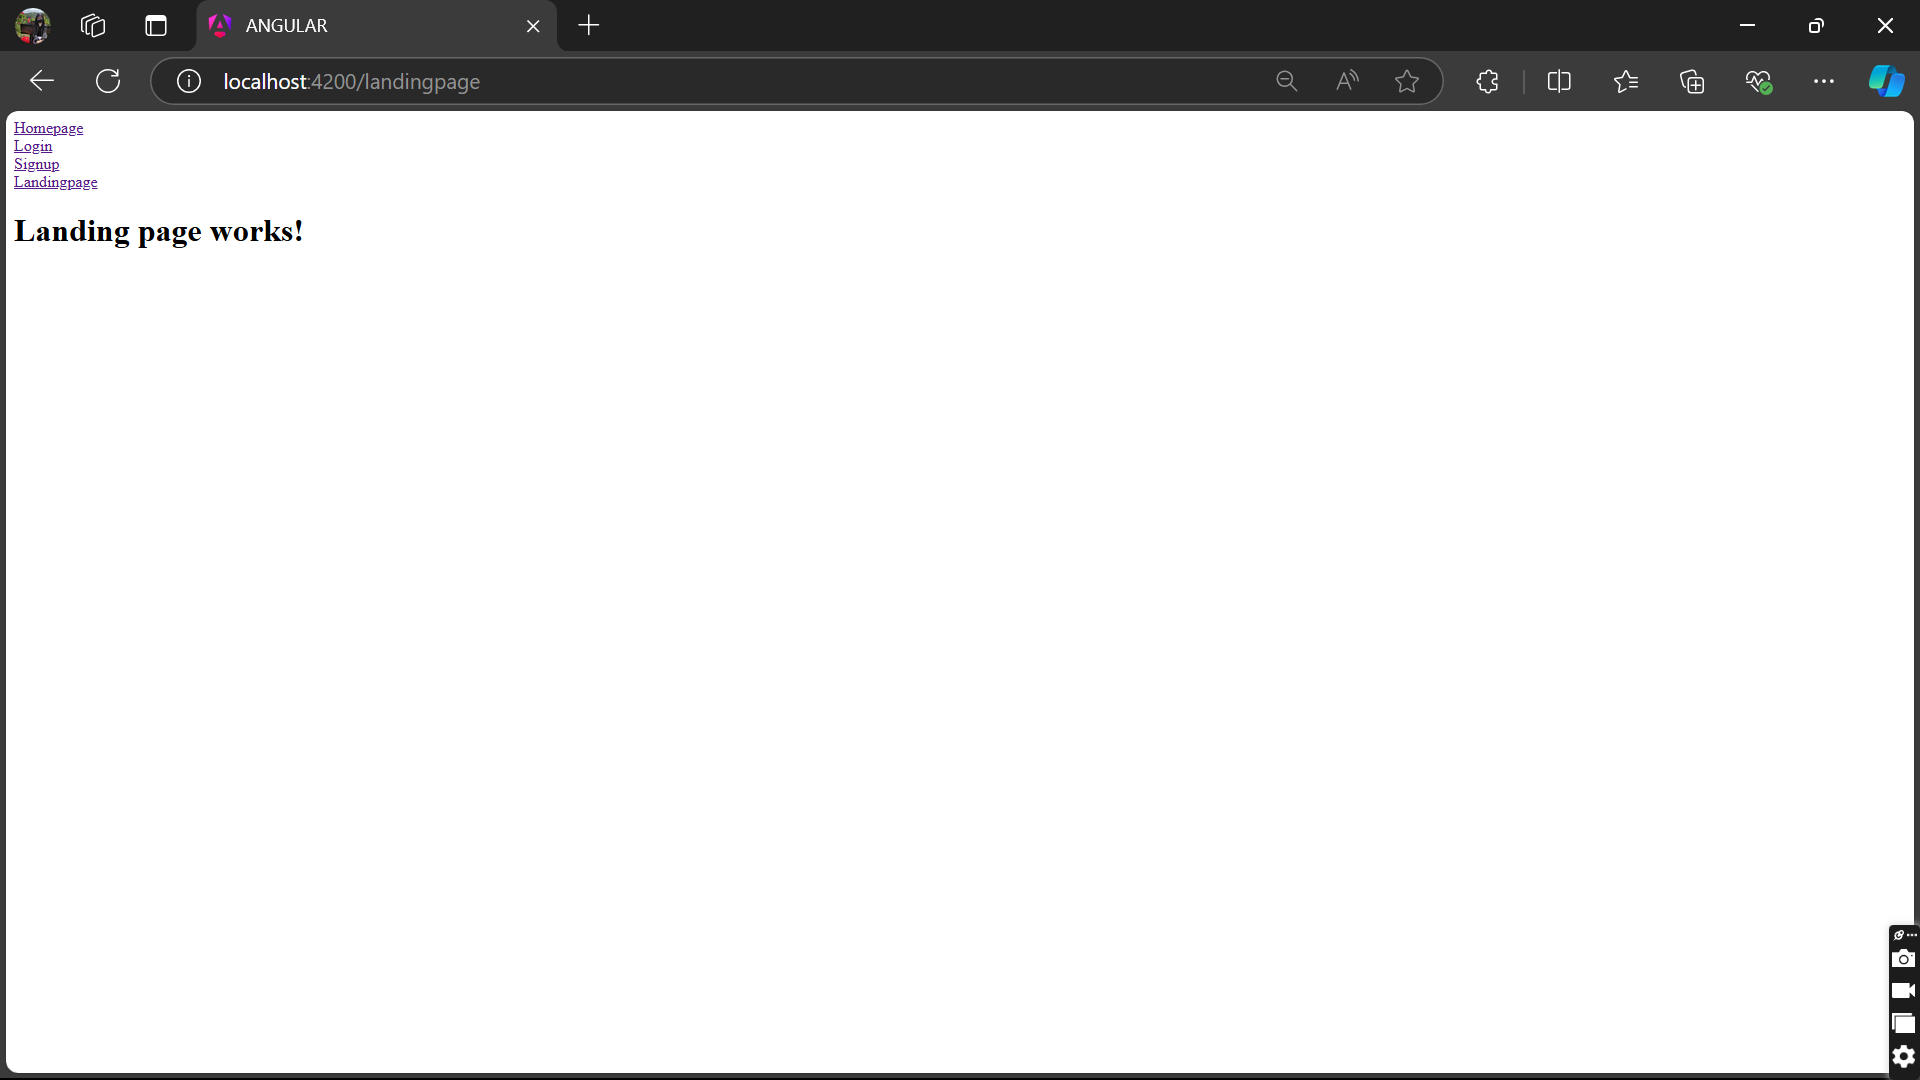
TO UPLOAD IN GITHUB: follow the steps!
Press
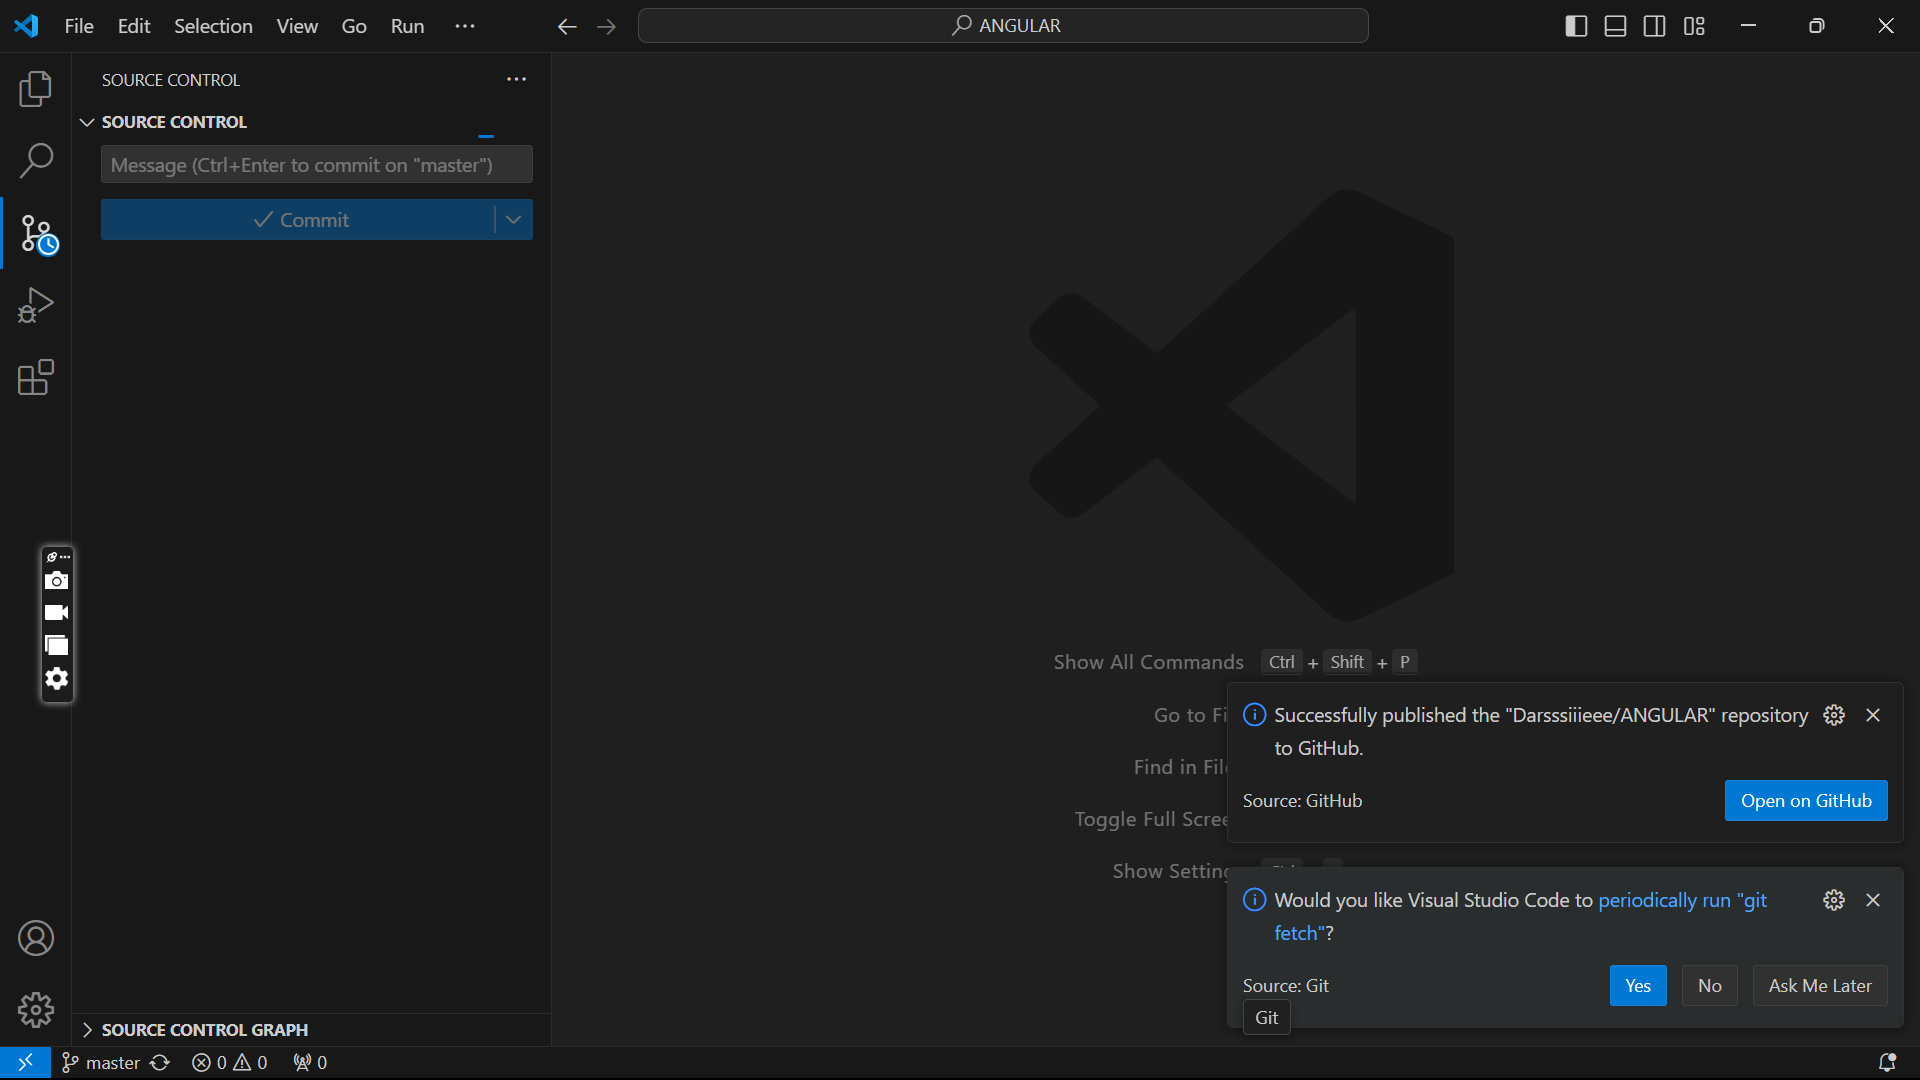
Ctrl + Shift + Gto open the Version Control pane or click on the Source Control icon in the Activity Bar on the side, In the text box at the top of the Source Control panel, type a commit message that describes the changes you made, press enter.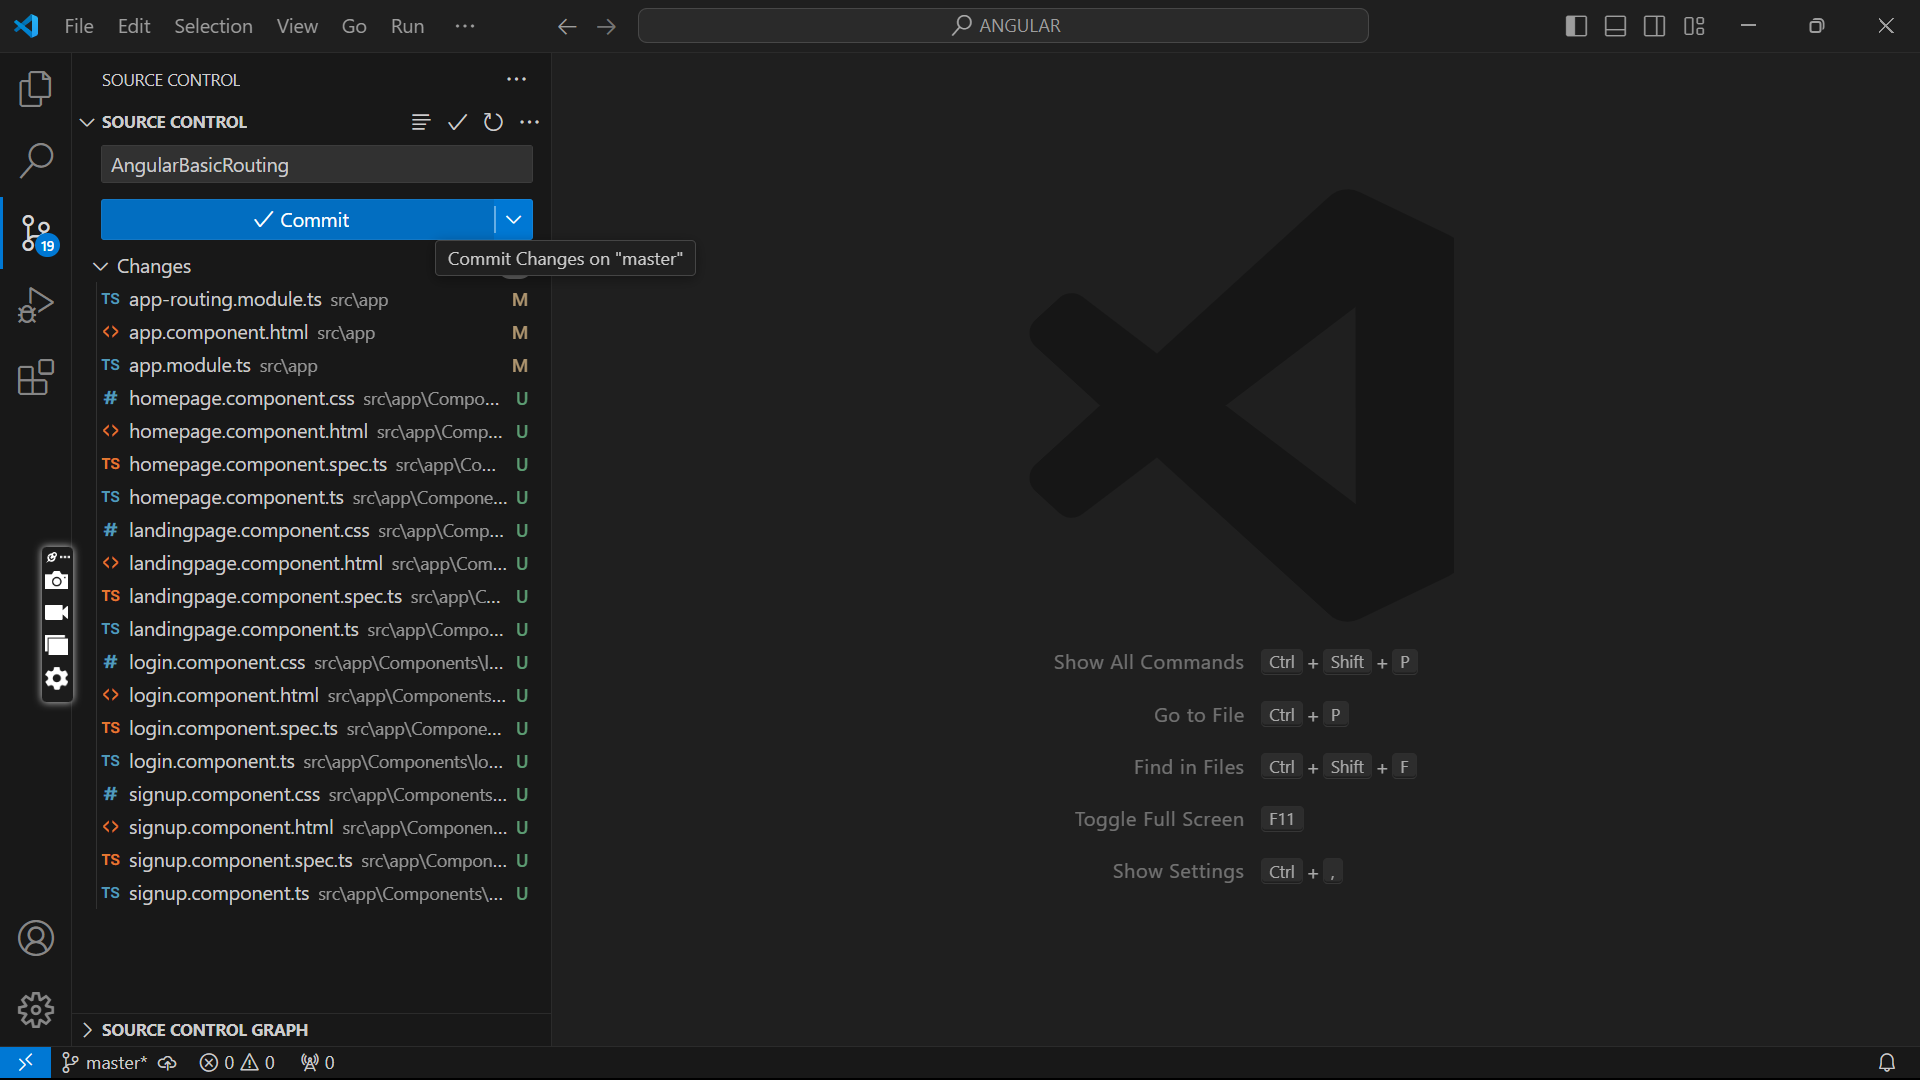
After committing, look for the "Publish Branch" button at the top of the Source Control panel. Click it.
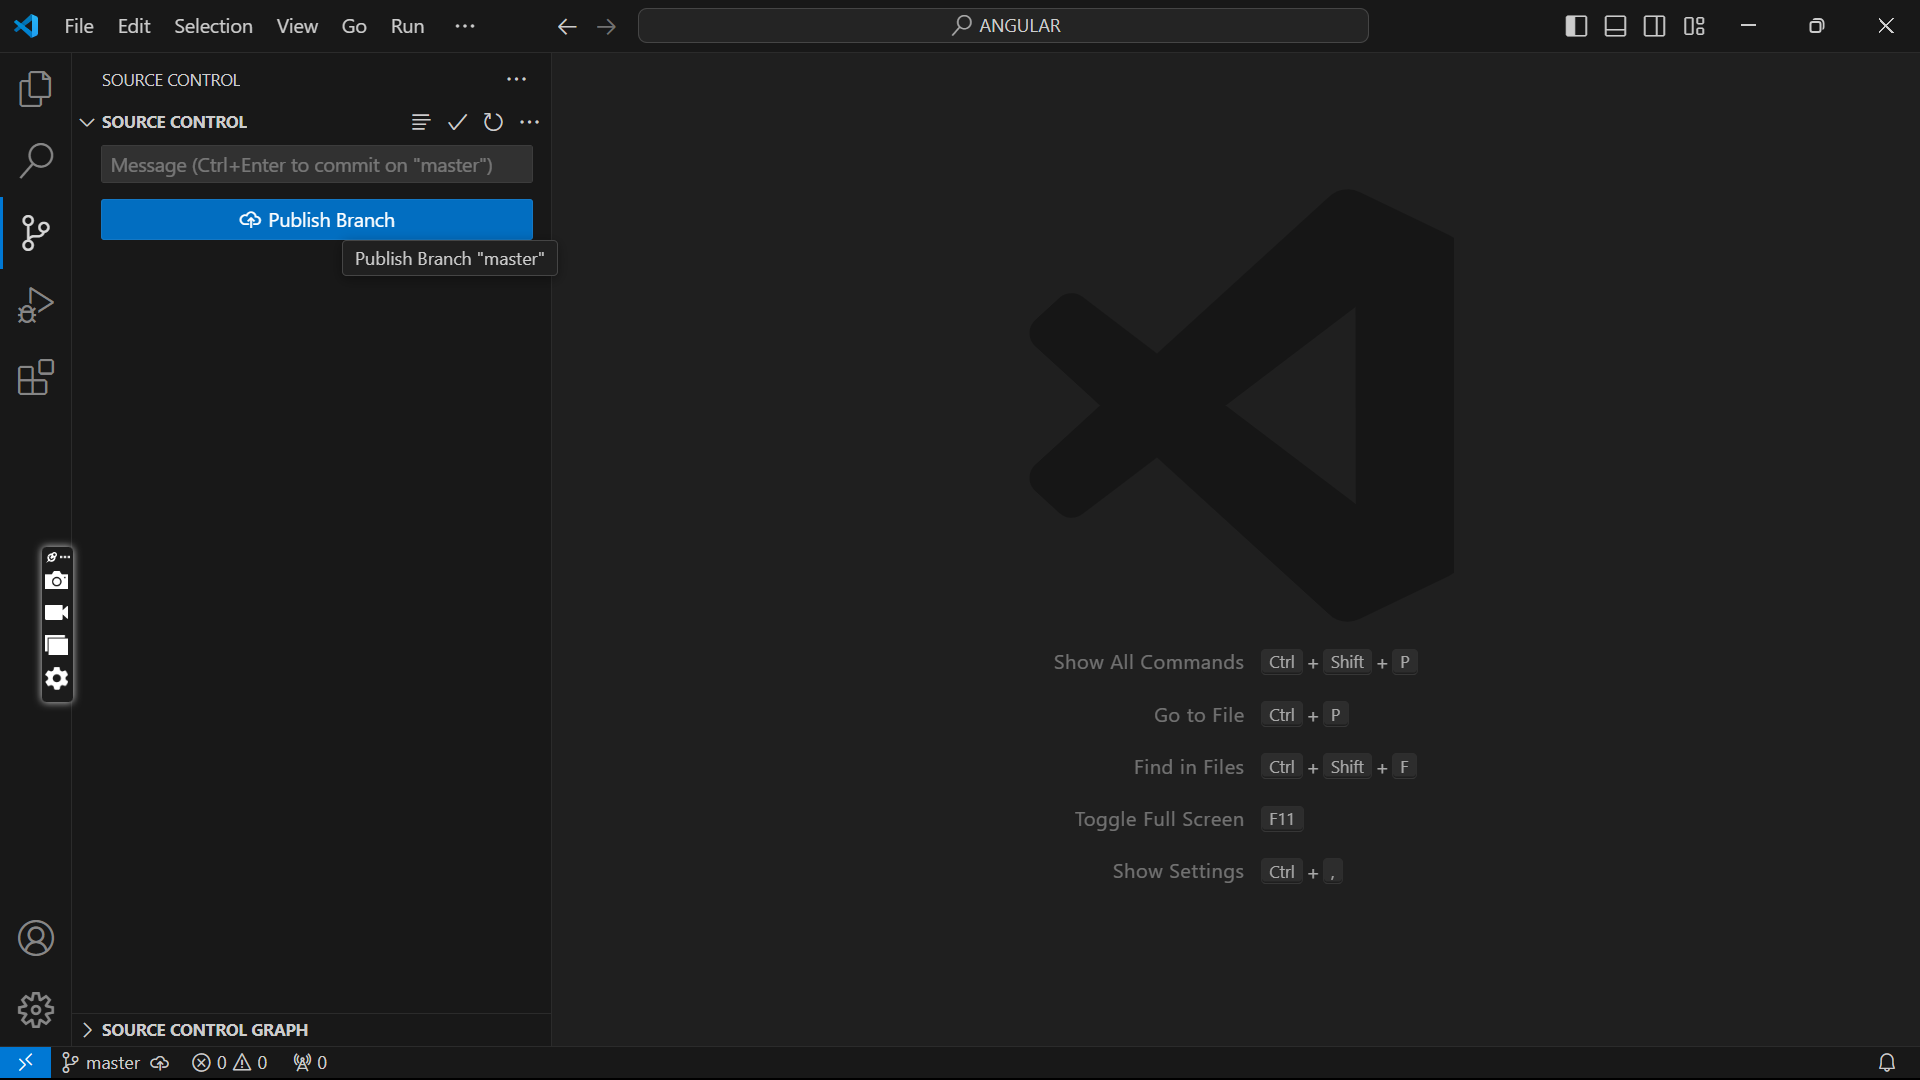
Once you click on "Publish Branch", a pop-up will indicate that your repository has been successfully published to GitHub. You may be directed to your newly created GitHub repository in your web browser.
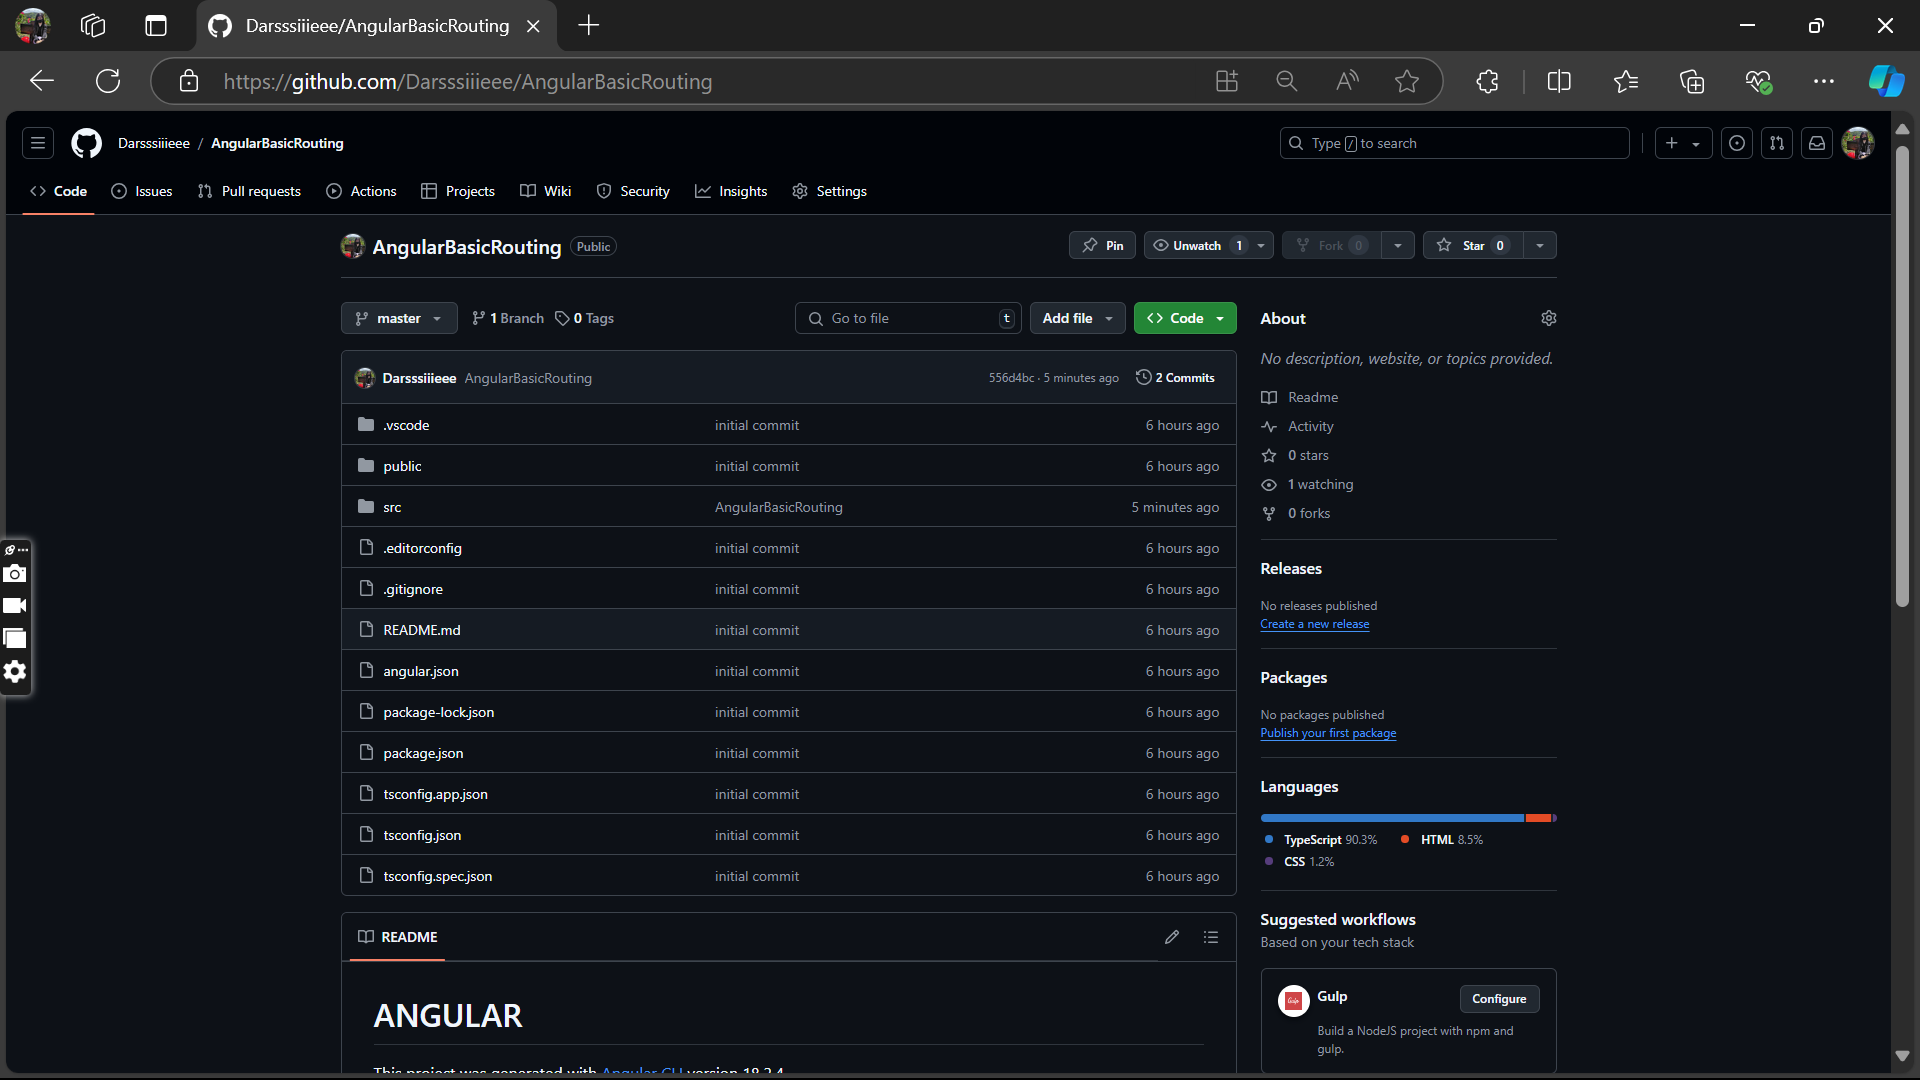
Repository Link: Darsssiiieee/AngularBasicRouting (github.com)