ACTIVITY #6 Getting Started with Angular
Step 1: Install Node JS
Visit the official Node.js website and Choose the LTS (Long Term Support) version for stability.
Step 2: Install Angular CLI
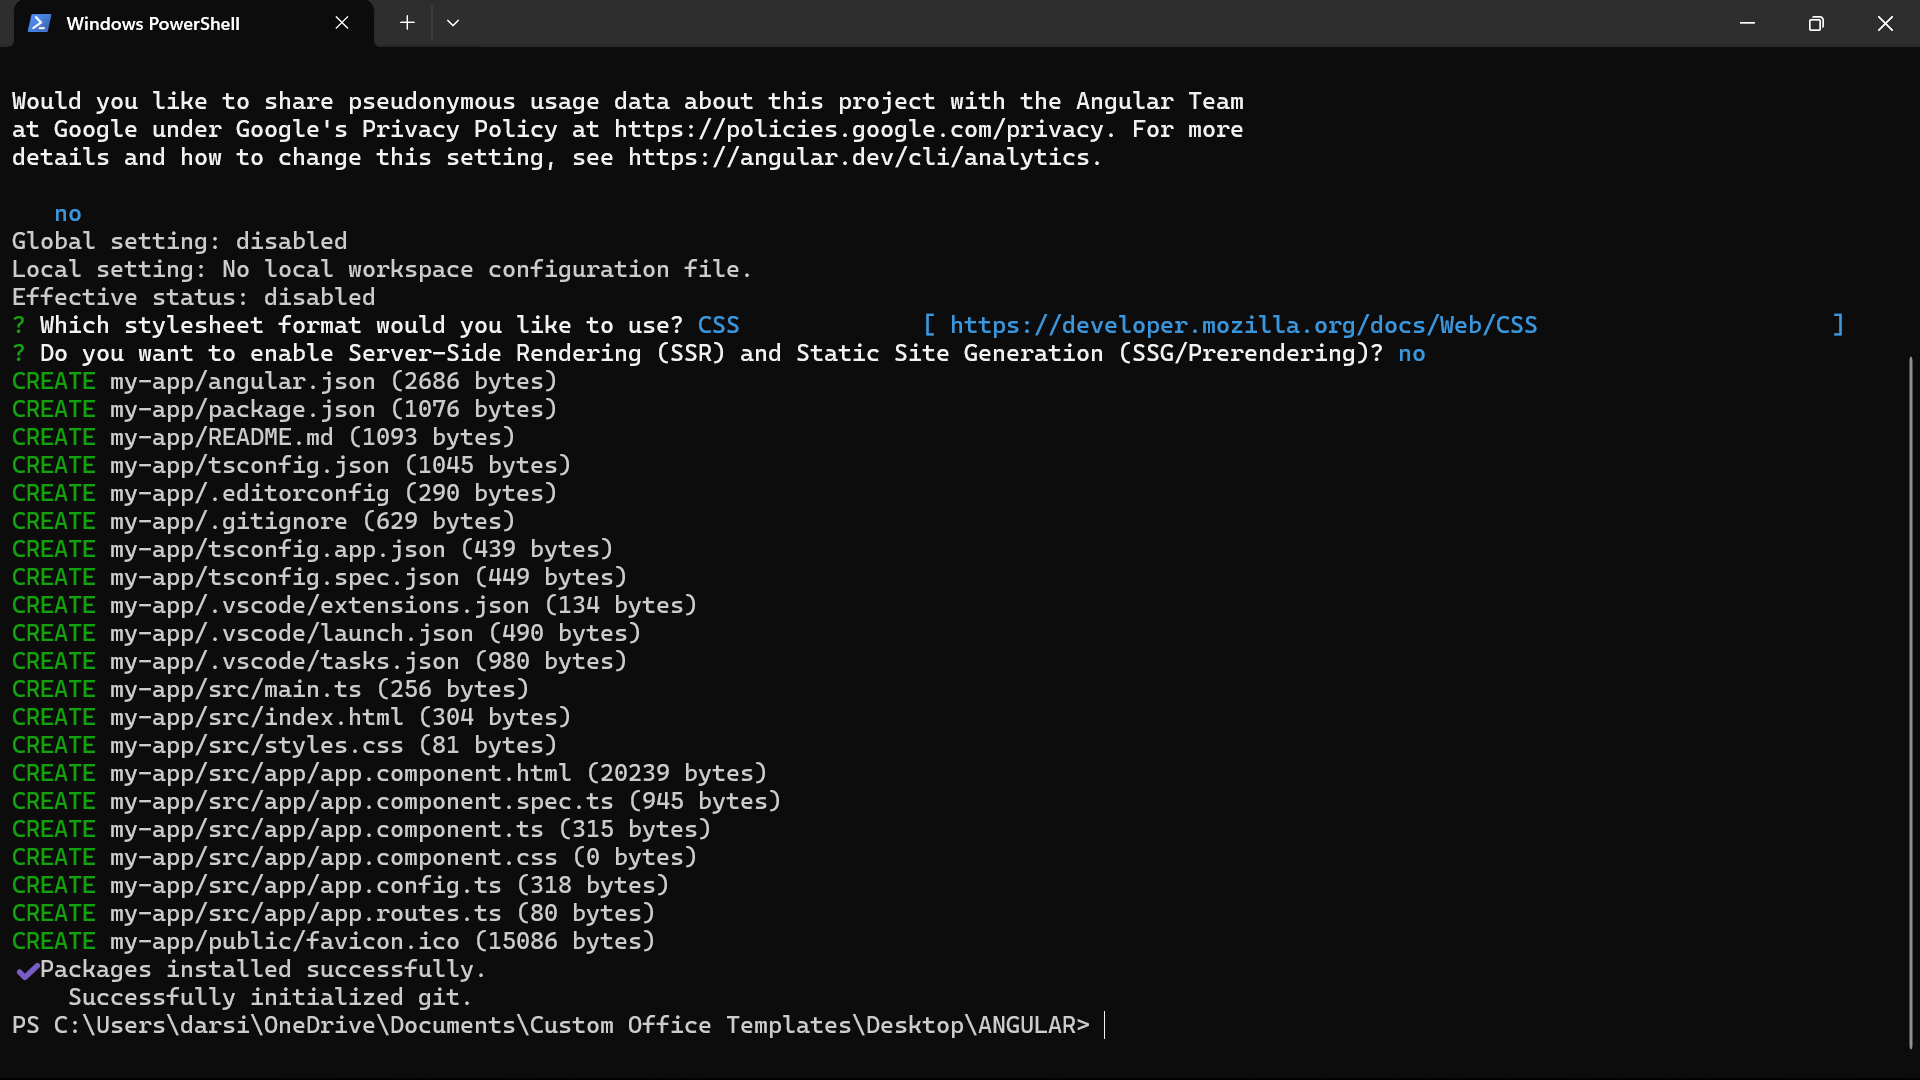
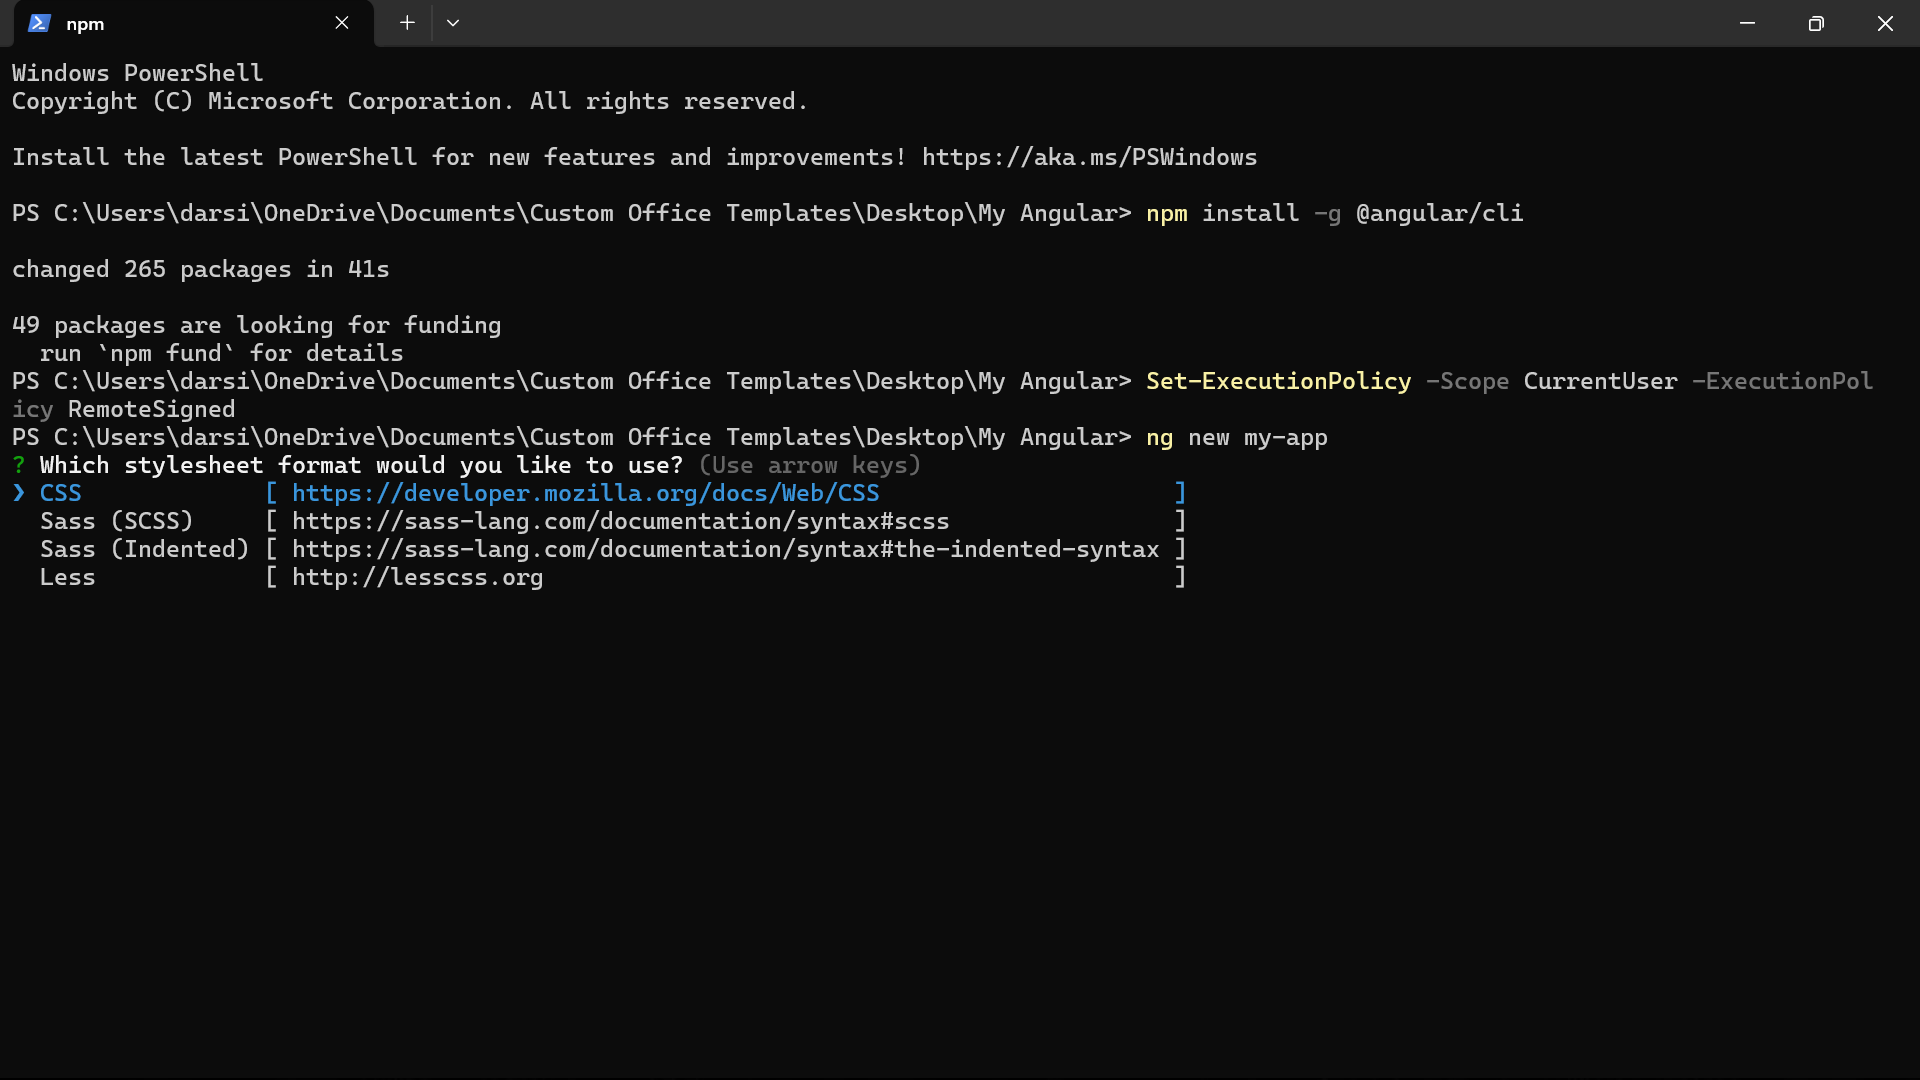
After installation, open a Command Prompt or PowerShell on Windows, Terminal, Type npm install -g @angular/cli and press enter.
Step 3: Create a New Angular Project
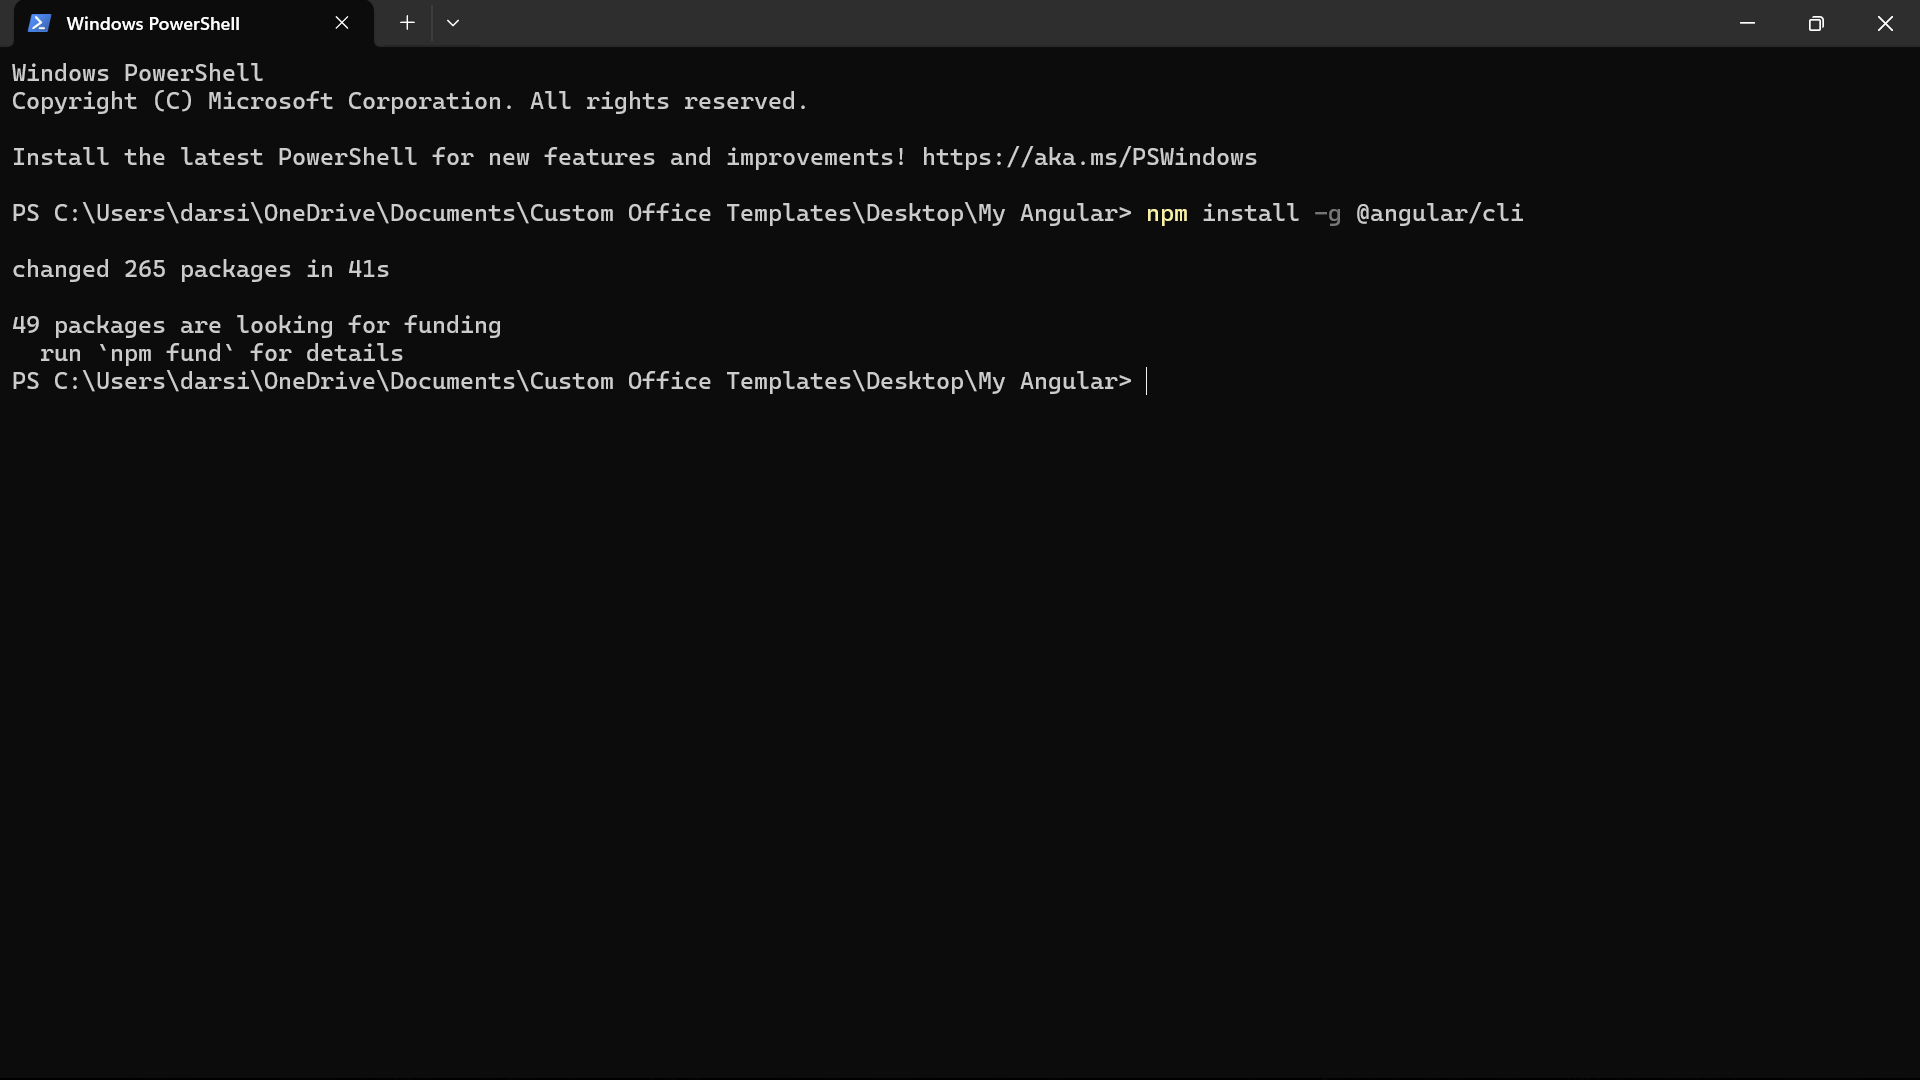
Navigate to the directory where you want to create your new project. Create a new Angular project using the CLI, Type ng new my-angular-app and press enter.
Step 4: Run the Angular App
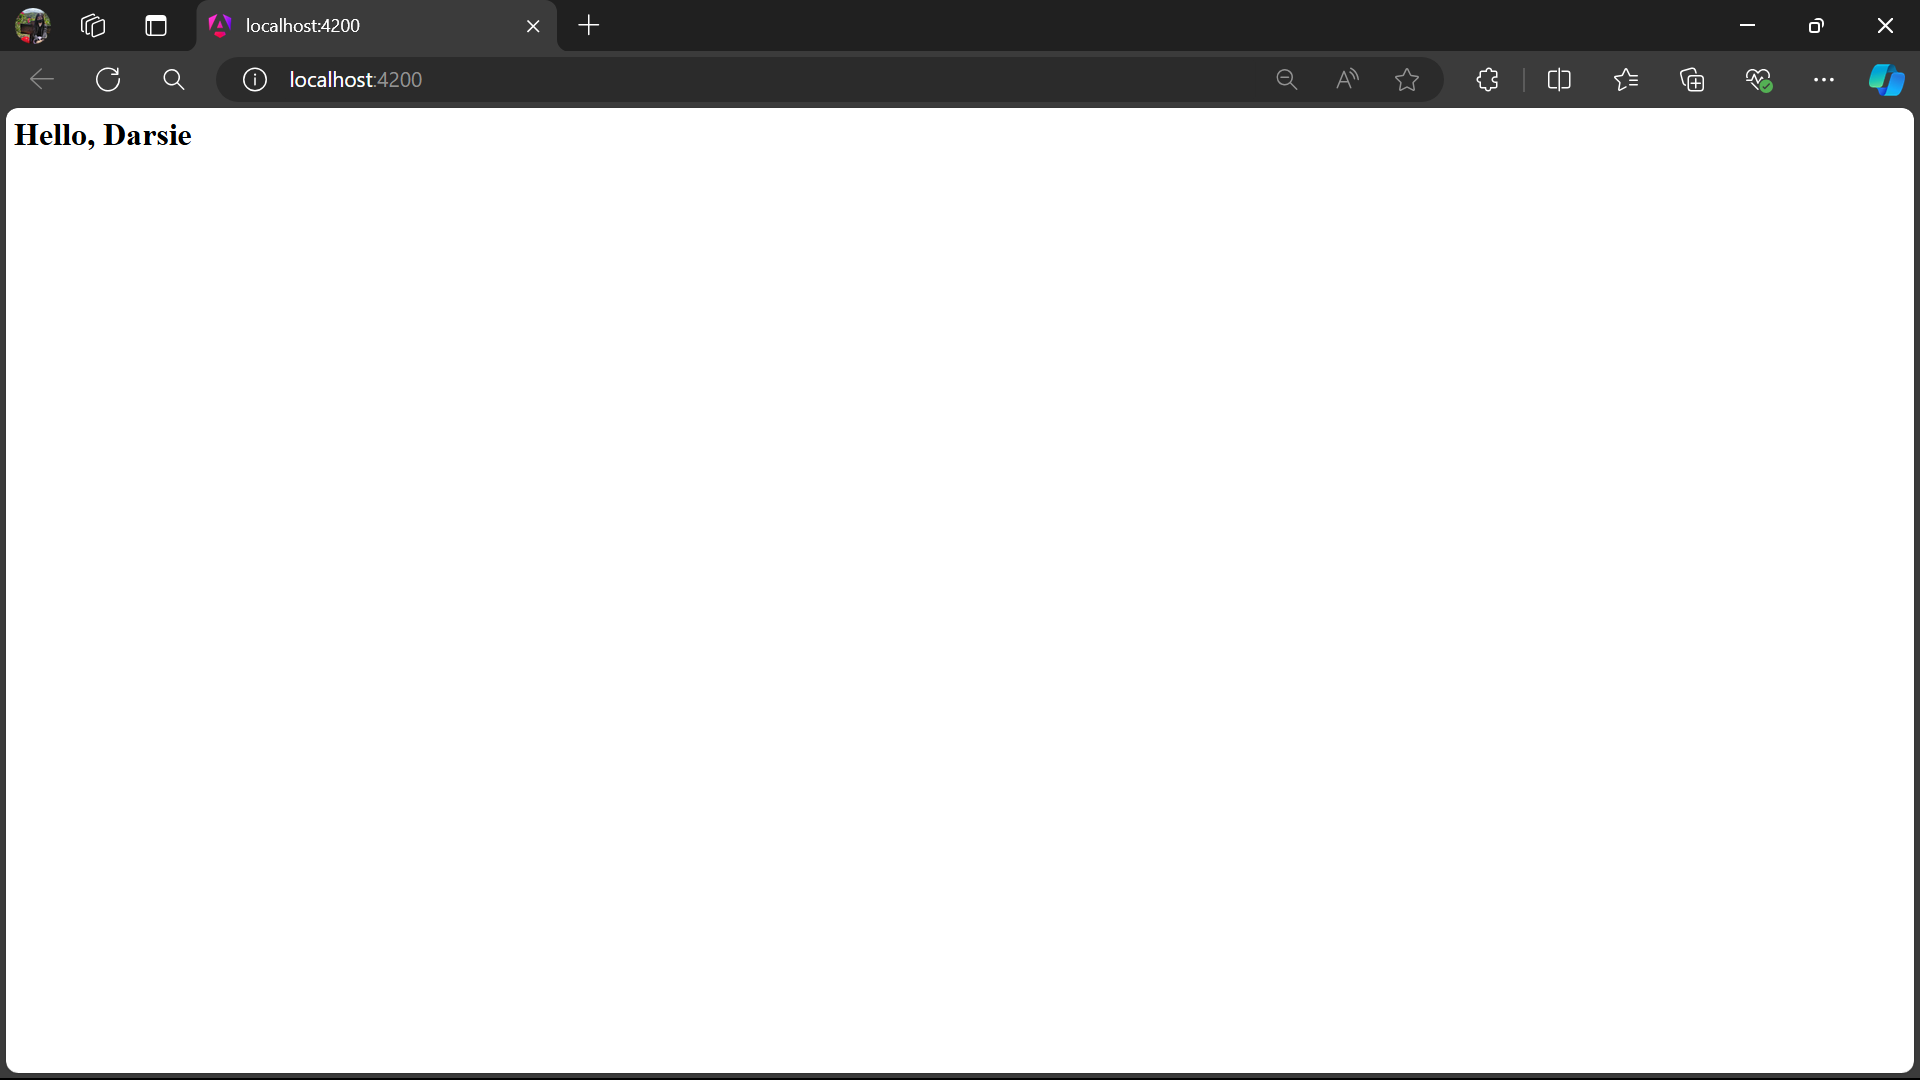
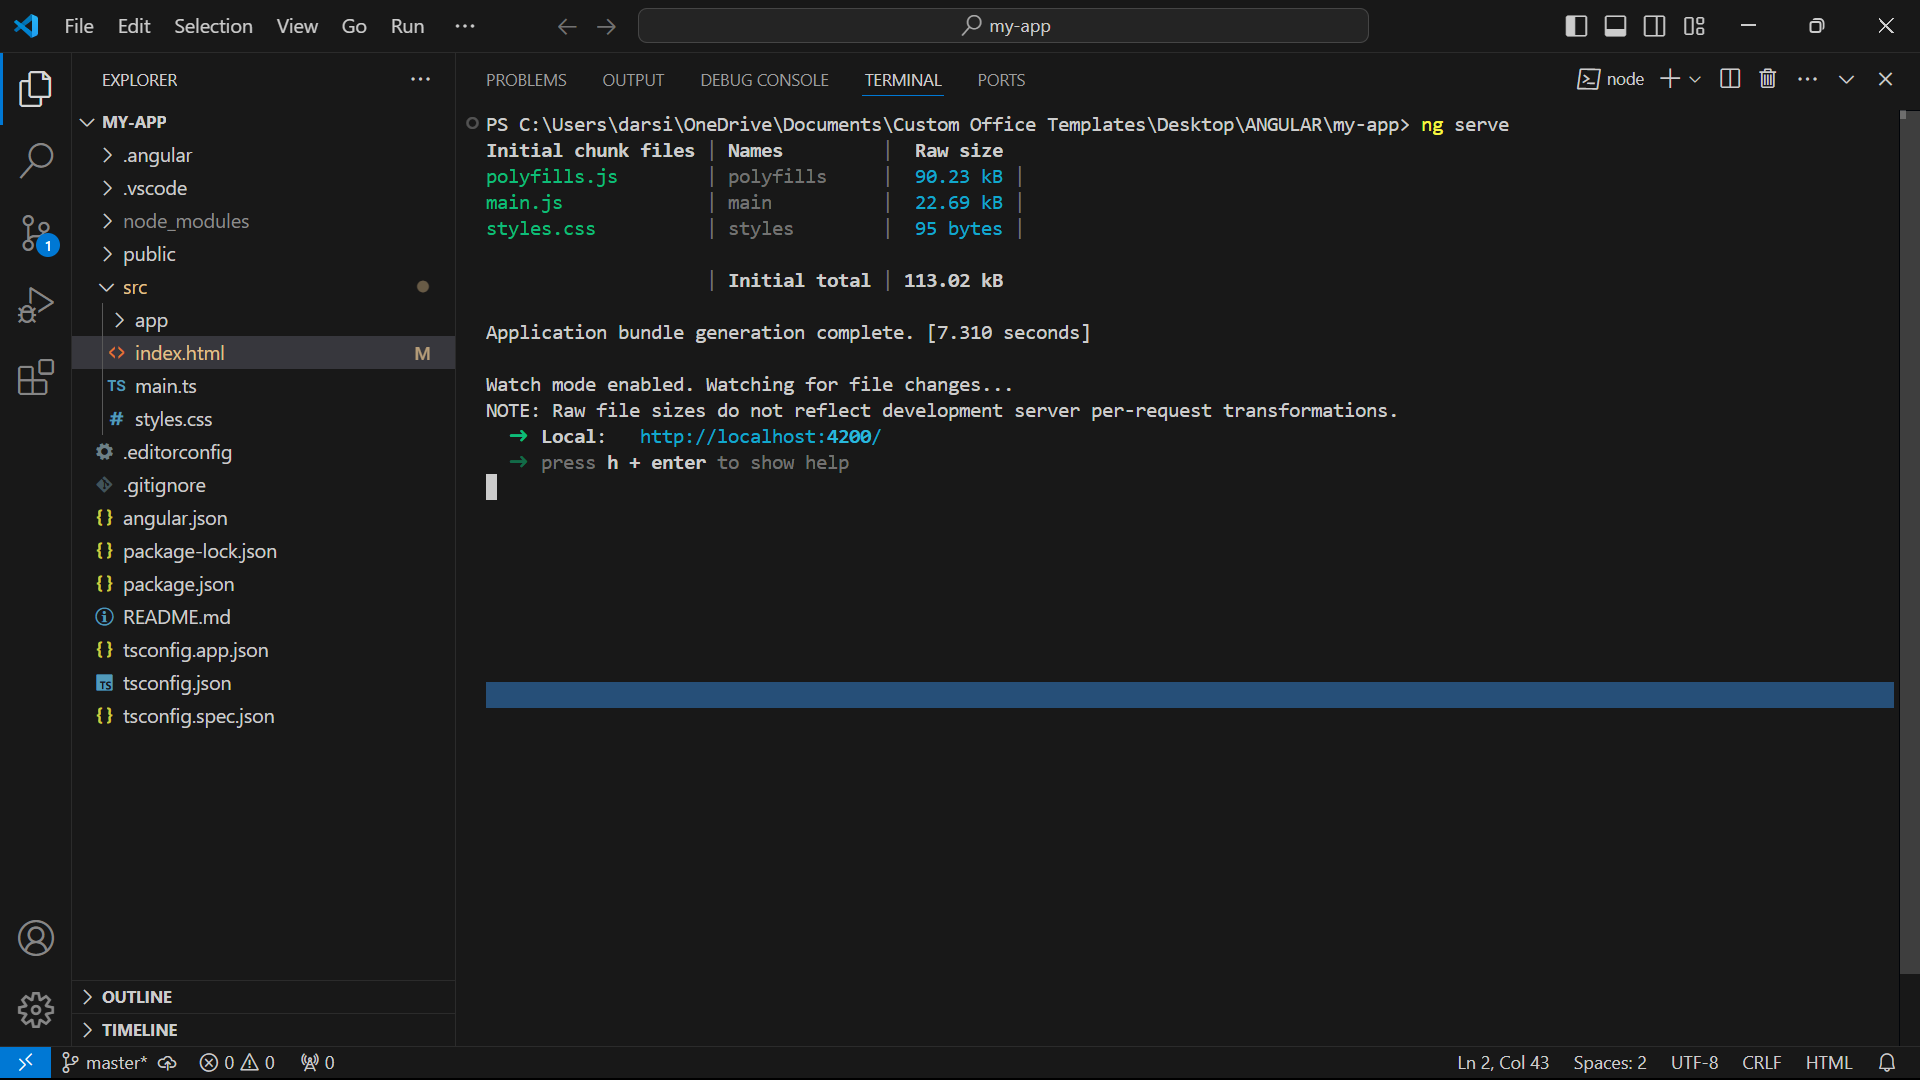
Using the command ng serve the application will run on http://localhost:4200/ and you can open this URL in your web browser to see your running Angular application.
Step 5: Make your First Change
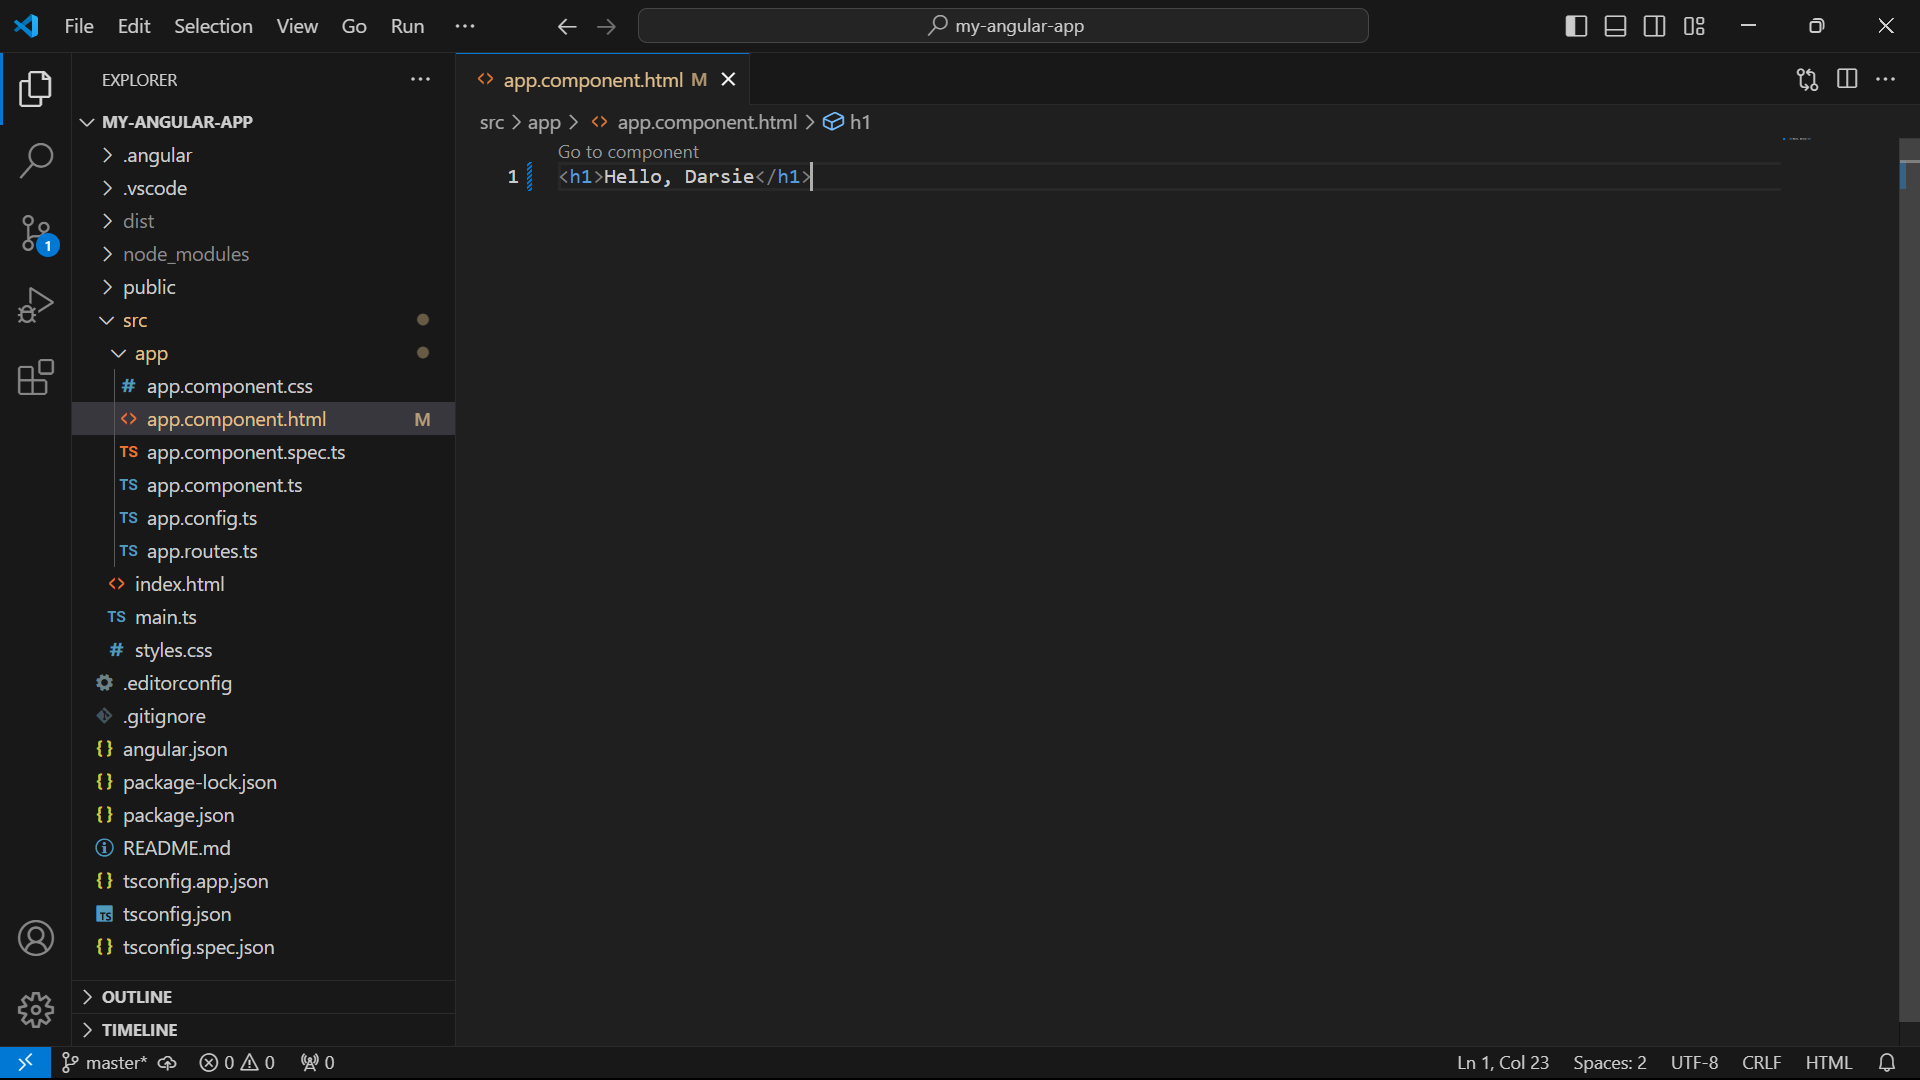
To see how Angular works, you can make a quick change to the application. Save the changes, you should see the changes reflected in the browser automatically due to Angular's live reload feature.
Step 6: Build Your App for Production
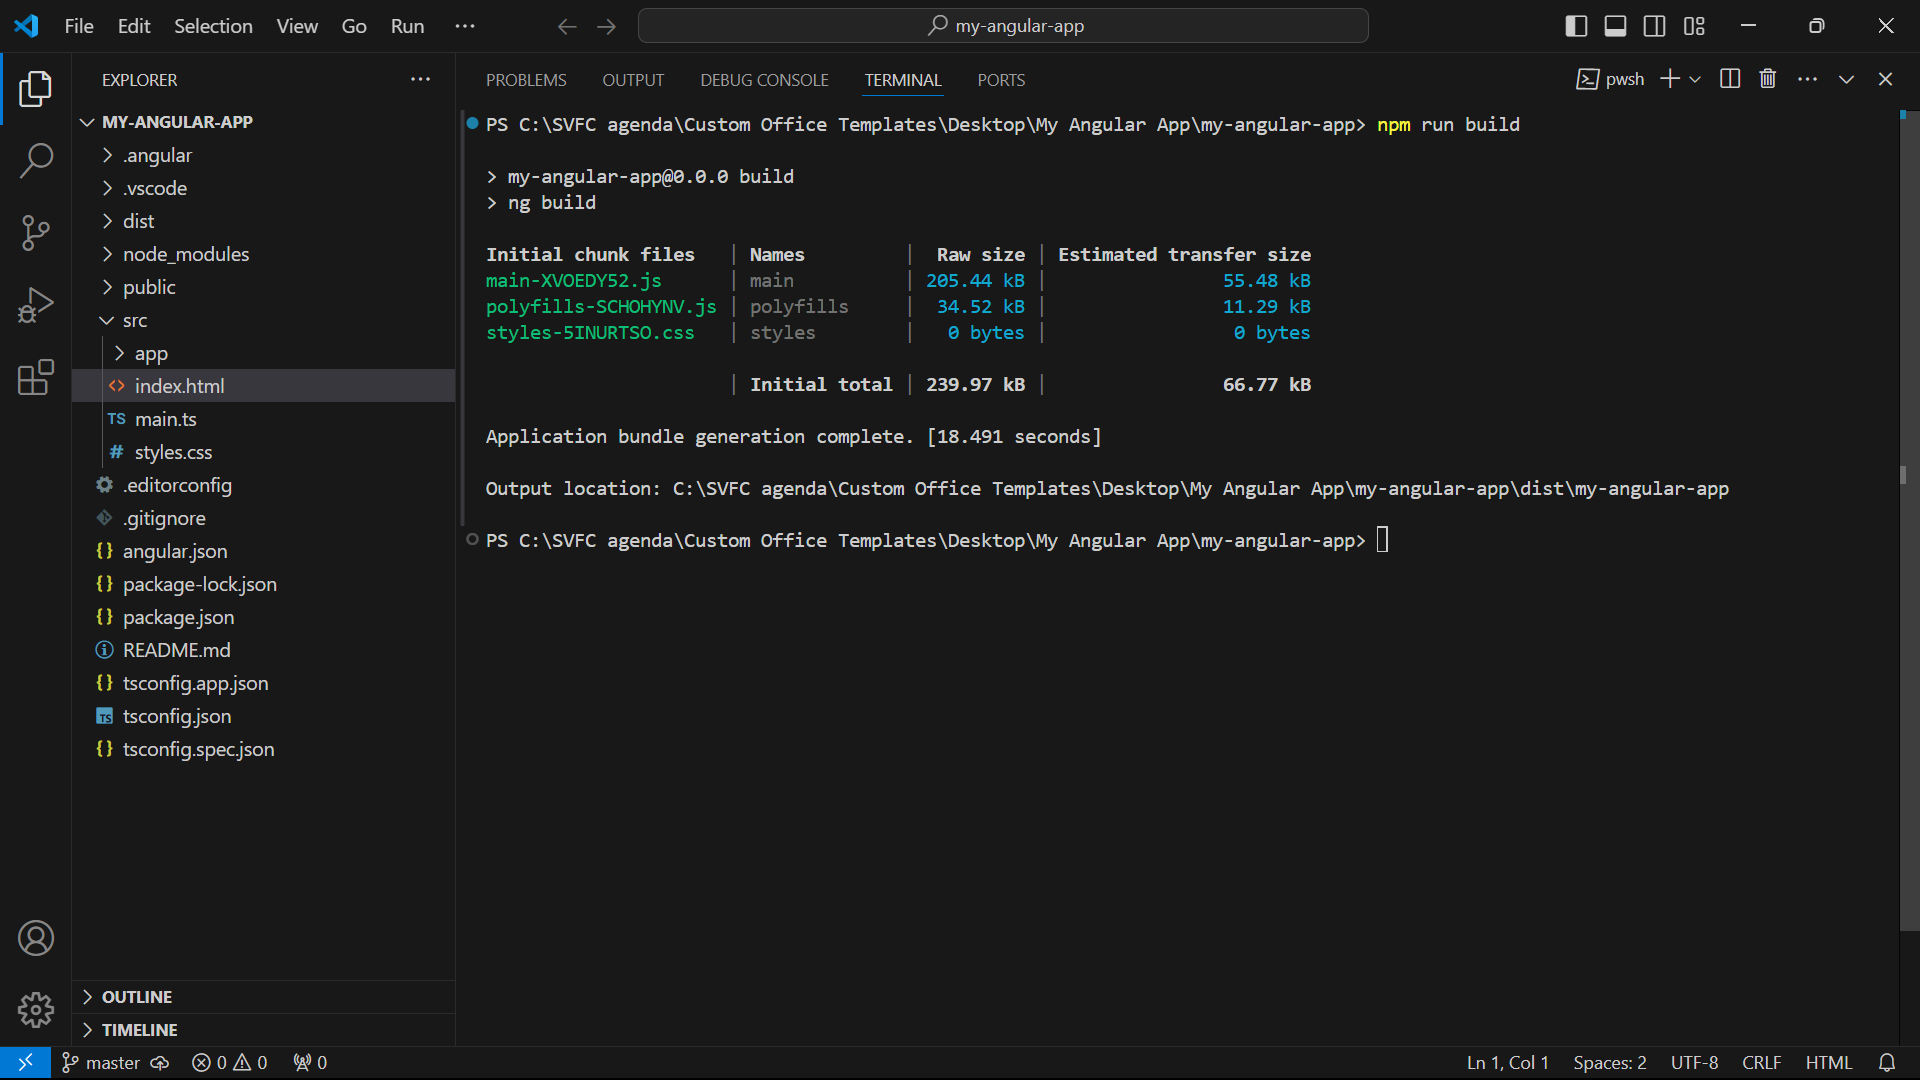
OUTPUT